Are you eager to send out party invites to multiple contacts on your iPhone? In this scenario, it is a contact group that comes in handy. However, iOS doesn’t support users to create a contact group directly. There are only two possible ways to create a contact group on iPhone. We will discuss both of these methods in the article that will create a contact group on iPhone.
To create a contact group on iPhone, there’s one way which is to use iCloud, and the other option is to go for third-party applications. With a contact group, you can send the same message to numerous contacts at the same time. It saves time and makes communication hassle-free.
So, without further adieu, let’s check both methods to create a contact group on iPhone to send group messages.
How to Create a Contact Group with iCloud on iPhone
You can use iCloud to create a contact group on your iPhone. However, firstly you must make sure that your iCloud is in sync with the contacts on your iPhone.
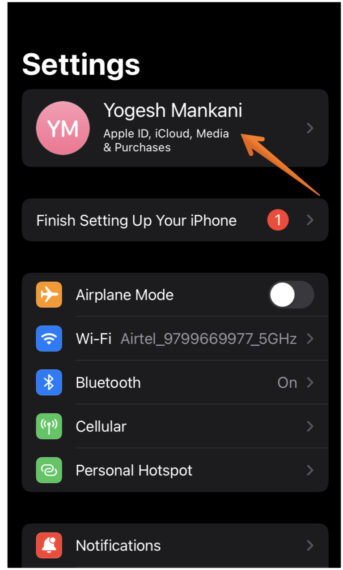
- Go to Settings on your iPhone.
- Click on your Name Card on top of the Settings app.
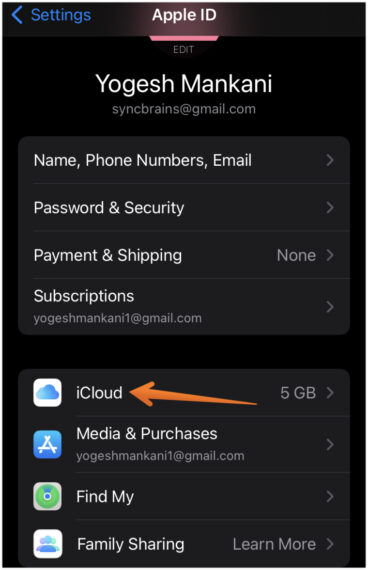
- Choose iCloud from here.
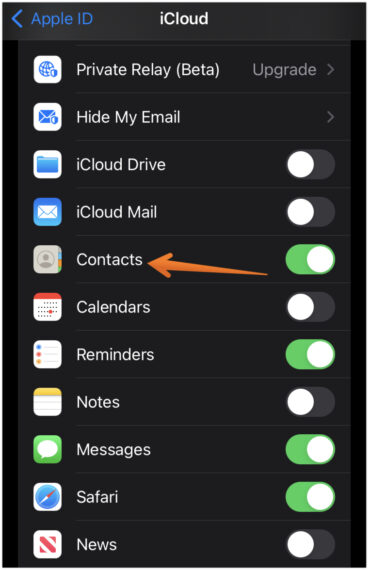
- Make sure that the Contact toggles is turned on. That is it, this is how you can sync contacts on iCloud.
Now, you can proceed to create a contact group on your iPhone with iCloud. Take a look at the following steps listed here:
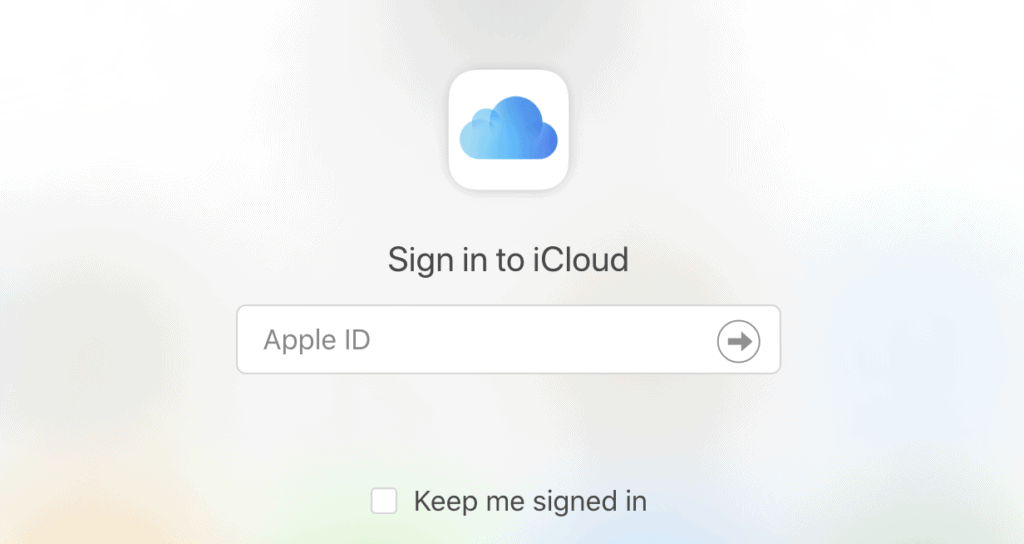
- Open iCloud.com on your Mac browser.
- Sign in with the Apple ID that you are using on your iPhone.
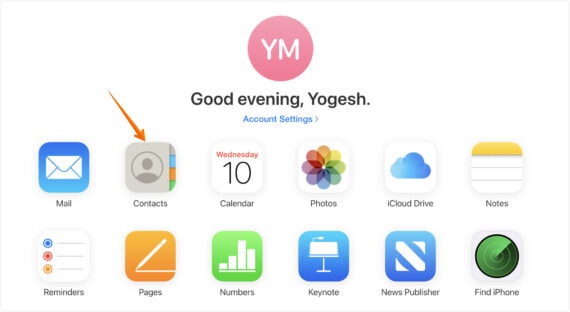
- Once you are signed in, you will see a lot of apps. Click on Contacts to move further.
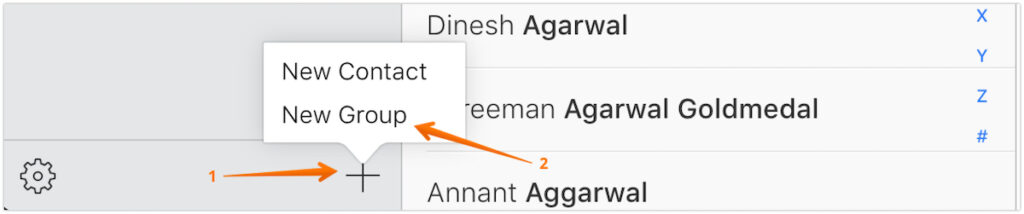
- Click on the + icon present on the left-bottom side of the screen. A pop-up menu will appear, choose the new group option from here.
- After that, you need to give your group a name.
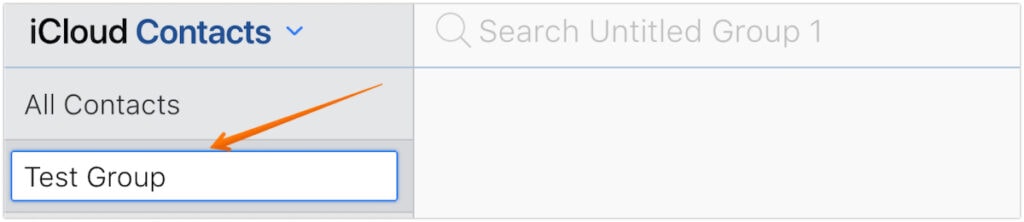
- This is it, this is how you can create a contact group with iCloud on your iPhone. After creating the contact group on iPhone, you can now add the contacts you want.
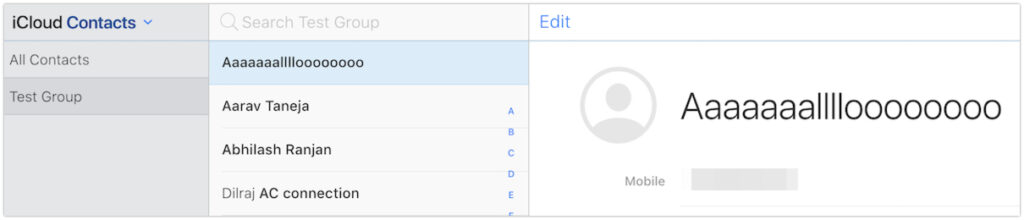
For this, drag the contact from the All Contacts tab and drop it into this newly made group.
Keep in mind that your internet connection needs to be strong for the completion of this process. The process to create a contact group with iCloud on iPhone is easy and simple and doesn’t require much time.
How to Send Messages to Contact Group?
We just created a contact group using iCloud on iPhone but it is vital to note that iPhone doesn’t support contact groups. That means you cannot use it directly to send messages to the contact group.
You will need to opt for other ways to send messages to the contact group. Here, you can know how to actually use them to send messages to the contact group on iPhone.
How to Send Messages to Contact Group Using Mail App
You can use the Mail app to send messages to everyone in the group at the same time. It saves time and ensures that you are not forgetting anyone from the list. Check out the steps that you must follow:
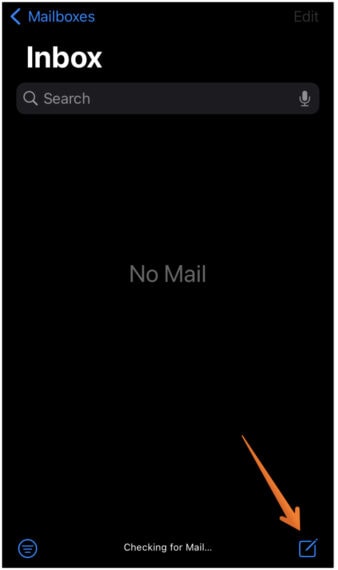
- Go to the Mail app on your device.
- Create a new email by clicking on the Compose icon in the bottom right corner of the app.
- Go to the “To” section and enter the name of the contact group that you have created using iCloud.com. The suggestion list will show the name of your contact group.
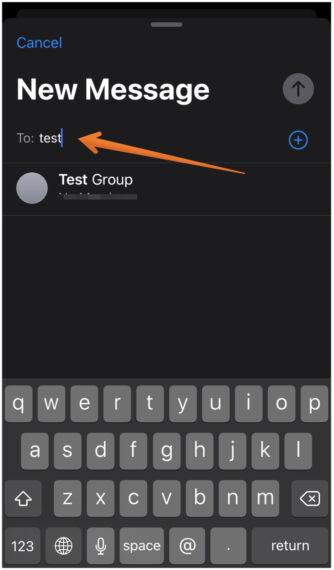
- Tap on the Contact Group name once you find it.
- Write the message and then Press Send.
Now, you can wait as the message will be sent to each person in the group. However, there is one important thing that you must note.
Make sure that you save the email ID in the contact details of the person. If there is no email ID saved, you cannot send an email to that person. It will not matter even if the person is present in the contact group. He/she will not get the message.
How to Delete Contact Group on iCloud?
Do you want to delete the contact group on iCloud? You can use iCloud to delete the group as you have used it to create one. Here are the simple steps that you can follow to delete a contact group on iCloud:
- Go to iCloud.com from your PC and use your Apple ID to sign in.
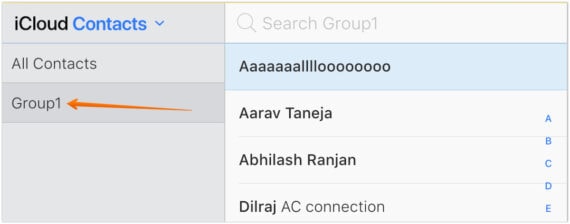
- Select Contacts from the list of options.
- Now, choose the Contact group that you want to delete.
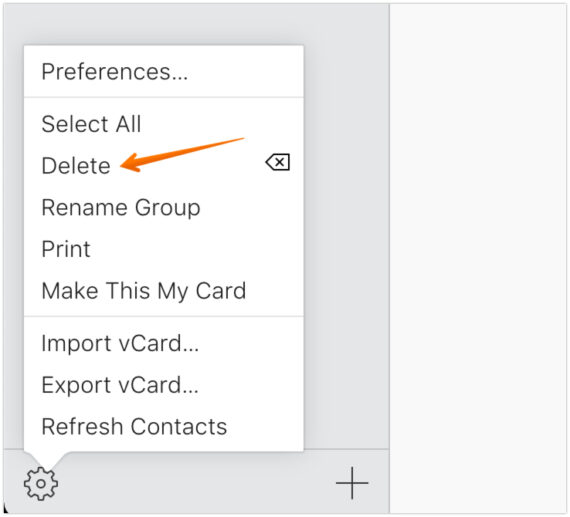
- At the bottom-left corner of the screen, press on the Actions menu by clicking on the Gear icon.

- Once you press on the Settings icon, a drop-down box will appear. Tap on Delete.
- Wait for a confirmation pop-up to appear on the screen. Press Delete again to re-confirm the group you wish to delete.

How to Create a Group without iCloud Using GroupMe App
There is an alternative way to create a contact Group without iCloud on your iPhone. For this, you can take assistance from third-party apps such as GroupMe.
If you don’t want to go with the iCloud method, you can use the GroupMe app. It is easy to download and install the app. The app is absolutely free and offers users the ability to organize their contacts on the iPhone.
Moreover, the people receiving the group message don’t need to install the app. That means that you don’t have to force other people to make the same installation.
The process of using GroupMe to create the contact group is easy. Follow the steps outlined here to create a contact group without iCloud using a third-party app.
- Firstly, you need to download the app – GroupMe.
- Once the app is installed on your iPhone, you need to create an account to get started.
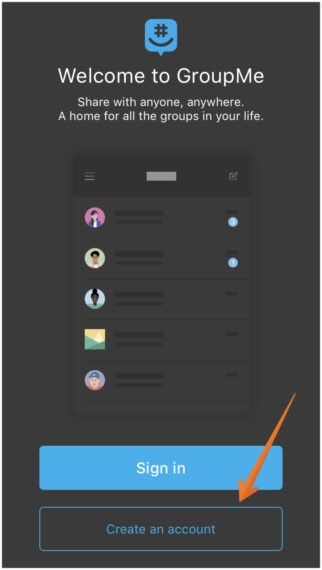
- Click on Create an account and you will get four options – Continue with Microsoft, Continue with Apple, Continue with Facebook, and Continue with your email. Choose the one you want to create an account with. If you are choosing the Apple login, you will ask to decide if you want to hide or share the email address.

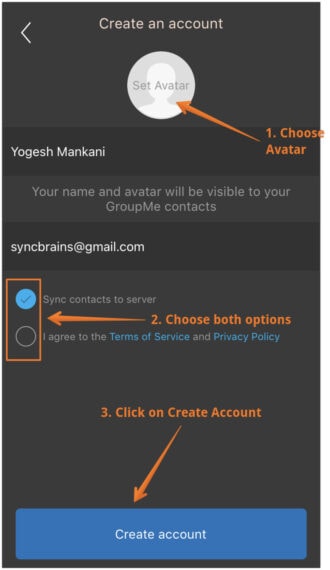
- Now choose an Avatar and tick Sync to Server and I agree to the Terms of Service and Privacy Policy. After that, click on Create Account button.
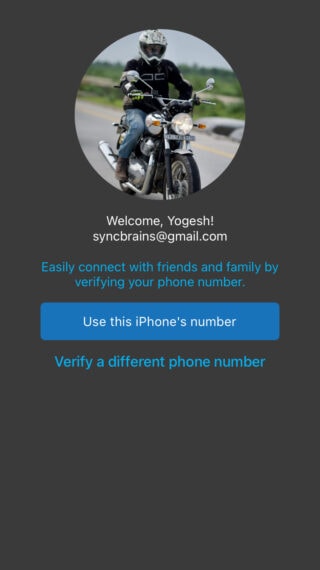
- Now, you need to enter a phone number. Here, you will get two different options – Use this iPhone’s number and Verify a different phone number. Make your own choice.
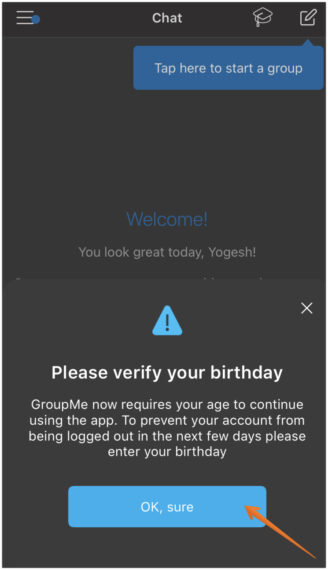
- Once you are done, GroupMe requires you to verify your birthday to use the app otherwise it will get logged out after a few days. Click on Ok, Sure to proceed further.
- Once you are done setting up the account, you will see a black screen with a few icons. Click on Compose icon in the top-right corner of the app.

- A drop-down menu will appear, click on Start Group to create a new contact group.
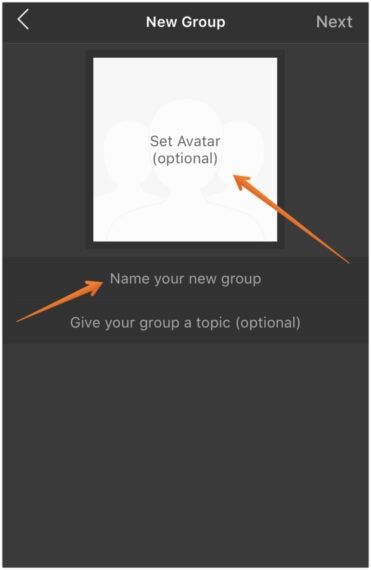
- Give a name to the group and you can set an avatar too which is optional. Click on Next in the top-right-hand corner of the screen.
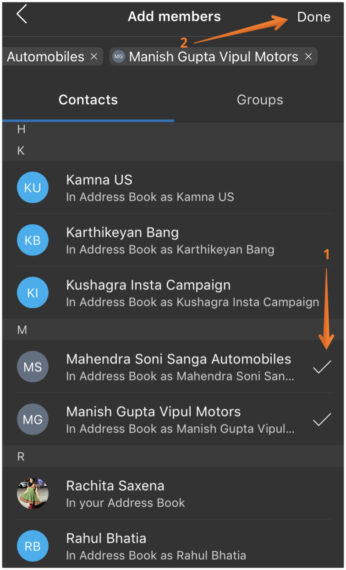
- You will see all your contacts, you can tap on the contacts you want in the group. A tick sign will appear on the contacts you are adding. Click on Done from the top right once you have selected the contacts to add to the group.
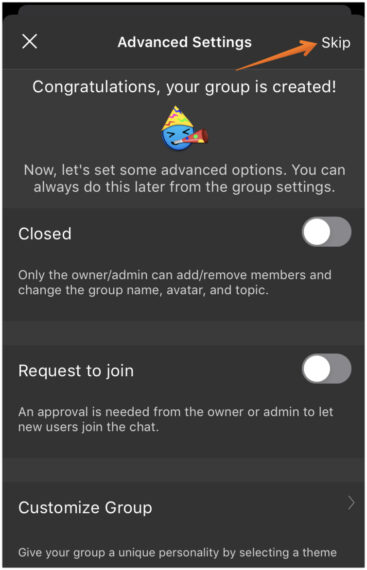
- Your group is now created. Here, you can toggle the closed feature in the advanced settings. This means that only you (the owner) have the right to make changes to the group settings. You can click on Skip directly if you don’t want to mess with advanced settings.
- That is it, your contact group is ready on the GroupMe app.
Now, you can start sending messages to the contact group right away. If any member of the group has installed GroupMe, then you need to send the email invitation link. You can send the link, and they can join the group with ease.
Alternatively, there’s another app named Groups that you can download to create a contact group on iPhone and send group messages right away.
Conclusion
These are some of the ways that you can create a contact group on iPhone. Moreover, you also need to know how to send messages to the contact group. Besides, you can also delete the contact group when you no longer need them. Use the contact group and start making vacation or dinner plans right away!