Did you just accidentally empty the Trash Bin on Mac without checking the contents? The Trash Bin is the directory that houses all your deleted files temporarily. It is the first place you search when you delete important files by mistake.
But what happens if you clear the Trash Bin too? Do you also look for ways to recover deleted files from emptied trash bin on Mac? Keep on reading!
While cleaning the hard drive of your Mac is an excellent idea, emptying your Trash Bin can bring in panic quickly. You could end up deleting crucial files and feel anxious when you realize it.
Is It Possible to Recover Files from Mac Emptied Trash?
Yes, it is actually possible to recover files from the emptied Trash Bin on Mac. There is a good probability rate of retrieving those deleted files even after you clear the Trash Bin. In the case of a deletion of a file, the OS assigns the space as accessible. Now, if the space is used to save new data, then the old deleted file will be overwritten. (Learn more about it here)
The deleted files from the Trash Bin stay on the SSD or hard drive. It will remain there until it is overwritten by the TRIM command.
In order to increase the possibility of recovering the emptied Trash on Mac, you must limit using the internal hard drive. It is imperative that you use the storage device where the data was previously stored in a limited manner. Here, the best solution is to use the laptop as little as possible till the file recovery is done.
In the latest versions of Mac, there is an in-built option. Here, users can opt for the automatic deletion of files from the Trash Bin after 30 days. This will reduce the chances of retrieving the files considerably.
How to Recover Files from Emptied Trash in Mac with 4DDiG?

Luckily, even the deleted files from Trash Bin stay on Mac for some time. There are some ways that you can recover deleted files from the emptied Trash Bin on Mac.
The best way to recover files from emptied Trash Bin on Mac is with the help of trustworthy data recovery software. Tenorshare 4DDiG Mac data recovery is an excellent data recovery tool that can help you out. For the successful recovery of these files, they use patent recovery technology.
You can use the 4DDiG software to recover a wide variety of files. These include audio files, photos, emails, videos, documents, archives, etc. With this tool, you can recover recently deleted files from the Mac hard drive with ease.
With 4DDiG, you can recover emptied trash from different Mac-based devices. For instance, the success rate of retrieving files from digital cameras, USB, etc., is quite high. So, let’s see how 4DDiG works in the real world situation.
Here are the steps to recover files from the emptied trash bin on Mac:
1. Install 4DDiG Software on Mac
First of all, we need to download 4DDiG software on your Mac. Follow the below steps to do so:
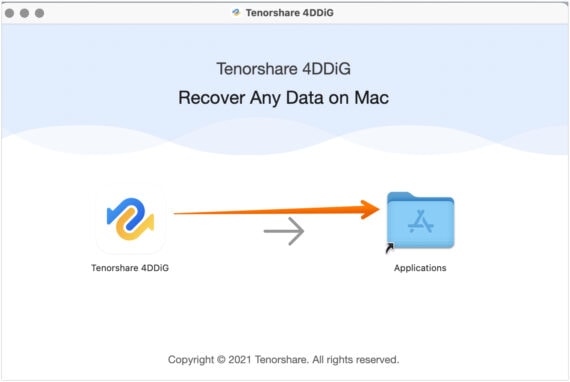
- Download 4DDiG software on your Mac. Once it is downloaded, click on the DMG file to install the software.

- After you click on the DMG file, a new window will open. Drag the Tenorshare 4DDiG software icon in the Applications folder. It will take a few seconds to copy it to the Applications folder. Once it is done, you are done with the installation of 4DDiG software.
As 4DDiG software is installed on our Mac, we can now move further and use it to recover deleted files from emptied trash bin on Mac.
2. Select Location to Recover Emptied Trash Files
In this section, we will select the location from the hard drive to recover the deleted files. Check how you can do it in a few simple steps.
- Open Applications folder from the dock.

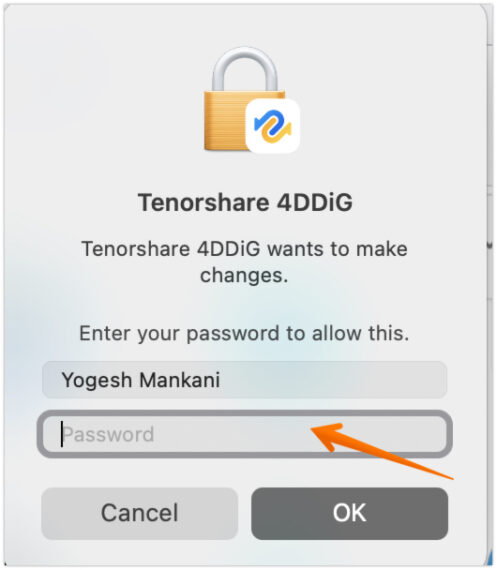
- You will see all the applications on your Mac, click on the Tenorshare 4DDiG icon.

- After clicking on it, the system might ask you to enter the password to open the software. Enter your Mac’s password. Click on OK to proceed further.
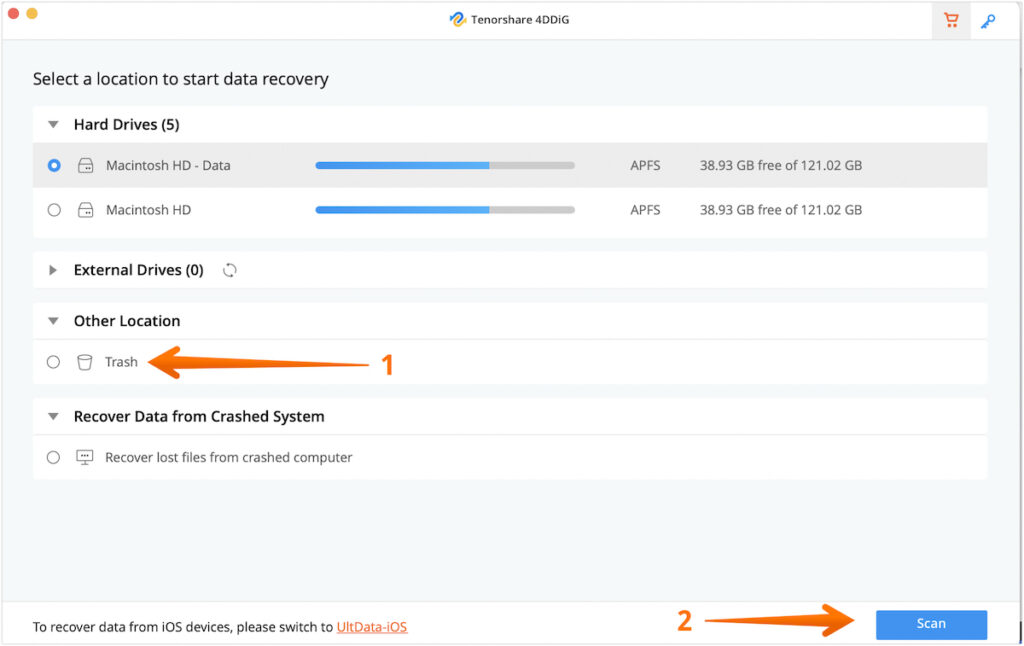
- Once it is opened, you will see the welcome screen as shown below. You need to choose Trash under the Other section and press the Scan button to search for the deleted files.
- It might take some time to scan the data on the selected location. Once the scan is complete, you will get a notification prompt saying “Scan completed!”. Click on OK to proceed further.

3. Recover Deleted Files from Emptied Trash Bin
In this step, we will be recovering the deleted files from Mac emptied trash.
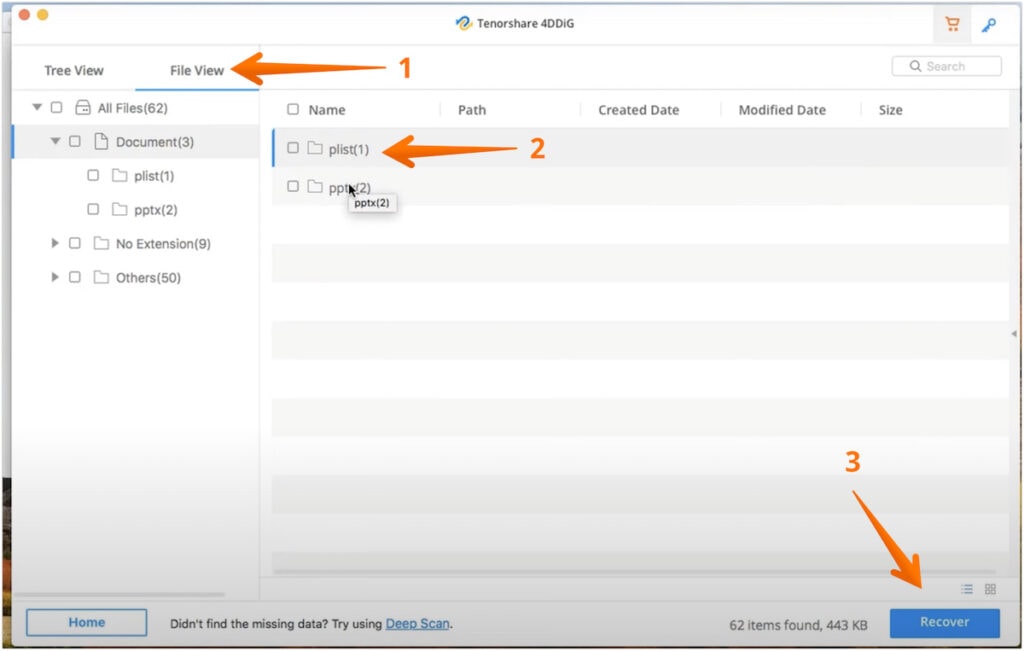
- Select the File View from the left pane as it sorts the files by their respective file types.
- Choose the files you want to recover and click on the Recover button.
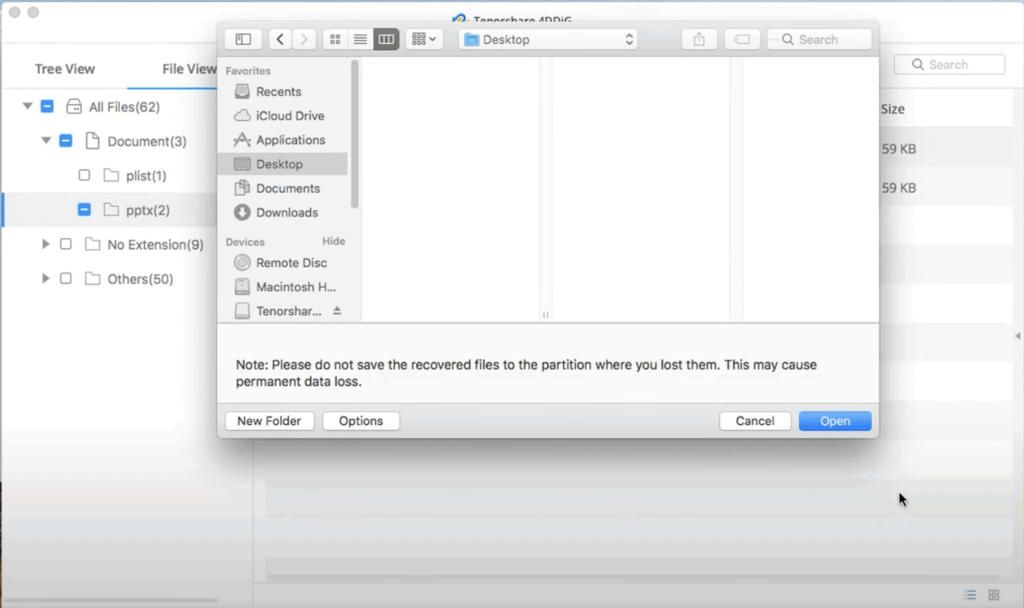
- Once you click on the Recover button, the software will ask you to choose a destination to save the recovered file. It is vital that you don’t choose the same location, as the one, where you lost or deleted it. This can lead to permanent loss of the file.
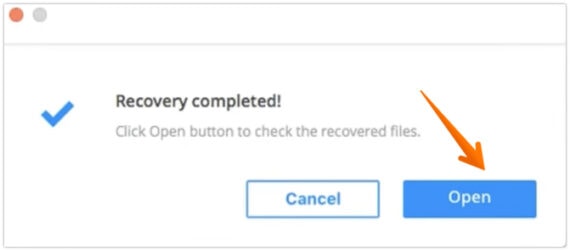
- That’s it, you have successfully recovered the deleted files from emptied trash bin on Mac. You will get the notification prompt with message “Recovery complete!”. Click on Open to check the files that you have recovered.
Also Read: How to Delete Files in Other Storage on Mac
How to Recover Files from Emptied Mac Trash Without Software?
There is an alternative method that you can use to recover deleted files from the emptied Trash Bin on Mac. Here, you must retrieve the file before it is permanently deleted from the PC.
Here, Mac users can opt for Time Machine, the in-built backup source of Apple. It saves data continuously and offers the perfect opportunity to get back those accidentally deleted files. You can take advantage of this backup system to retrieve the lost files from Trash Bin.
Take a look at the steps below that you need to follow on how to recover deleted files from emptied Mac trash using Time Machine:
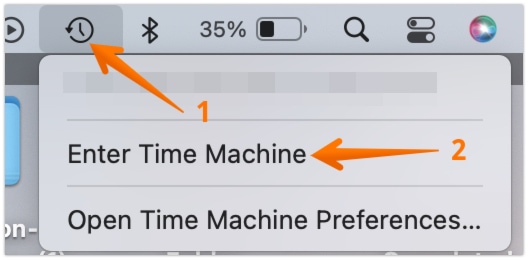
- Firstly, click on the Clock look-a-like icon present on the Menu Bar of your Mac.
- Click on Enter Time Machine.
- While using the Time Machine, you need to make sure that the media you are using for backup is connected. It also needs to be turned on during the process of document recovery. After opening the Time Machine, you can explore the backups of the deleted files.
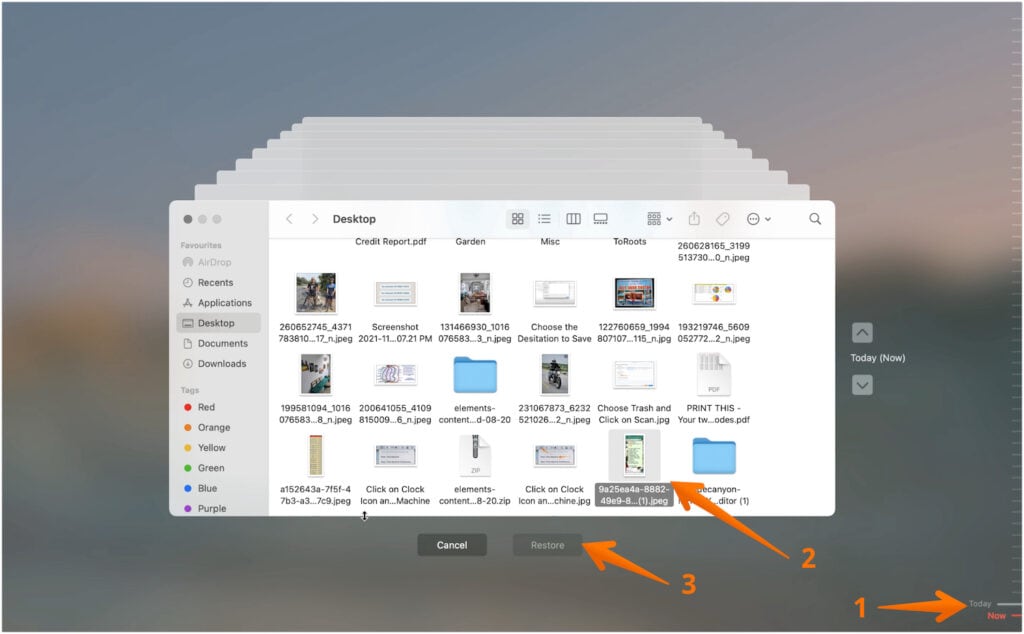
- Look out for the file in the initial location or by choosing the time stamp bar from the right-hand side of the screen.
- After locating the files, you can click on the file that you want to recover and press on Recover button to get the erased files back.
That is it. These are the steps that you can follow to recover deleted files from emptied Trash Bin on Mac without any software.
Conclusion
Deletion of files accidentally on your Mac is not a big deal. You can easily go to the Trash Bin and retrieve the file. But what if you empty the Trash Bin too? In that case, you can use Time Machine to get the file back from the backups.
However, when there are no backups, real panic sets in. You can relax as Tenorshare 4DDiG Mac Data Recovery software is there to help. You can use this software to recover deleted files from the emptied Trash Bin on your Mac.