Screen recording with audio is a general need that you might sometimes need to make a video tutorial because the video will be more intuitive to show the operations. You might also need to record a clip of the online video so you don’t need to find a way to download the whole of it. There are more needs, such as to record gameplay, record an important online meeting, etc.
This article teaches two significant ways to record computer screen with audio in Windows 10. One is to use the free inbuilt Windows 10 screen recorder. Another is to record screen with a more professional screen recording software for Windows 10.
Contents
Method 1: Record Screen with the Free Built-in Windows 10 Screen Recorder
You might have been using Windows 10 for quite a long time but haven’t known there’s a hidden feature that Windows 10 comes with a screen recording function. You can activate it by pressing Win+G. This function is built into Xbox. It is designed primarily for recording Xbox gameplay but it can also be used to record browser video or capture the activities on the applications.
How to record your screen with the Win10 inbuilt recorder?
Step 1: Press Windows key + G key simultaneously to open the recorder.
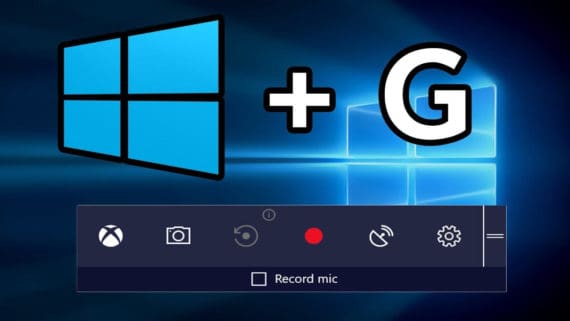
Step 2: In the Xbox game bar panel, you can adjust the volume for the microphone sound and system sound. After that, click on the recording button as highlighted to start recording your work.
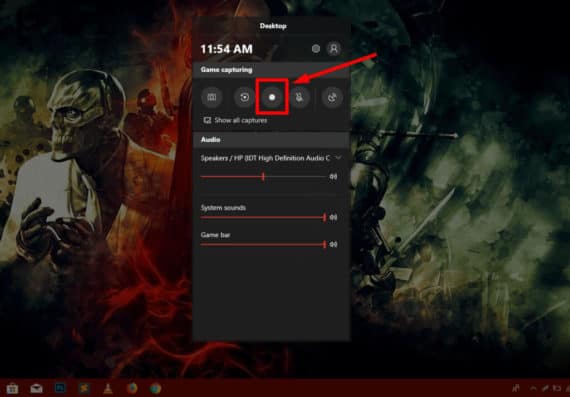
Step 3: The Win10 recorder is recording the screen. You can click the “Stop recording” button when you are going to end the recording process. You’ll find your recorded videos under the “Videos” folder in a subfolder called “Captures“.

The superiority and inferiority of this free inbuilt screen recording software are quite obvious. The biggest advantage is that it can record “after the fact”. Just imagine you have experienced the best hit in your game playing history but you didn’t turn on the recorder beforehand? You can use the inbuilt recorder to record most recent 30 seconds of gameplay on Windows 10.
However, the shortcoming of this free inbuilt screen recorder is deadly. It doesn’t allow you to record the desktop and the file explorer. In addition to this, you can’t switch to record the activities on different applications.
For example, when you are recording the operation on the Chrome browser, and you switch to another software interface, the recording will automatically stop. That means it is almost impossible to record a video tutorial with the inbuilt Windows 10 recorder.
Don’t worry and keep reading. We will show a more professional way to capture all the screen activities on Windows 10 along with Audio.
Method 2: Capture Screen with VideoSolo Screen Recorder
To record anything that happens on the screen, it is necessary to find a more extensive screen recording software. VideoSolo Screen Recorder is a professional tool that perfectly works on Windows 10/8/7. It can record all the screen activities with system audio and microphone audio, whether it is the operation on desktop, file explorer, or other applications.
With the free version of VideoSolo Screen Recorder, you can record for 3 minutes. However, to record as long as you wish, you need to either buy the Pro version or restart the recording for every 3 minutes. Later you might need to combine them using any video editors.
There are many output formats for you to choose, such as MP4, WMV, MOV, F4V, AVI, TS, GIF. After recording, VideoSolo Screen Recorder enables you to preview and do a simple clip for the video. You can download the free trial to try.
Here is how to record computer screen with VideoSolo Screen Recorder
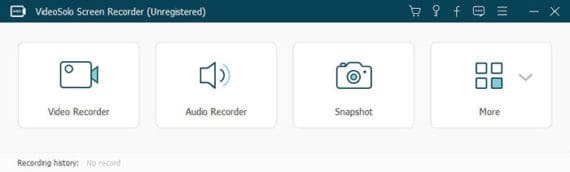
Step 1: Launch the Program and Click on “Video Recorder”
Launch VideoSolo Screen Recorder, the program interface looks like this. To record the computer video with audio, you will need to move your mouse to click on “Video Recorder“.
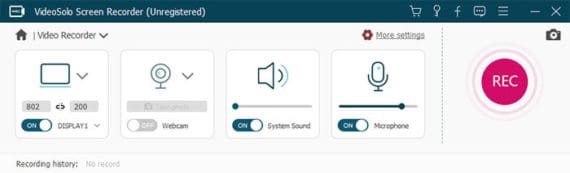
Step 2: Set the Recording Region and Adjust the Sound
After you click on the “Video Recorder” option, you will be taken to a new set of menu. Here you can customize the recording area: full or part of the screen. And then, you can adjust the system sound and microphone. If you don’t need to record the system sound, you can simply turn it off.
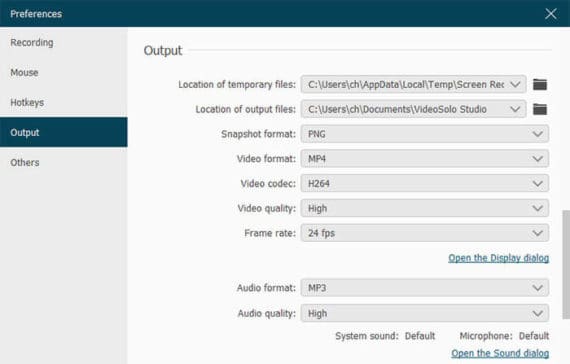
Step 3: Customize the Preferences before Start
VideoSolo Screen Recorder offers rich customizations. Click on the “Settings” icon on the program interface and it will bring you to the “Preferences” window. Here you can set your own hotkeys in the “Hotkeys” column, or customize many output settings in the “Output” column.
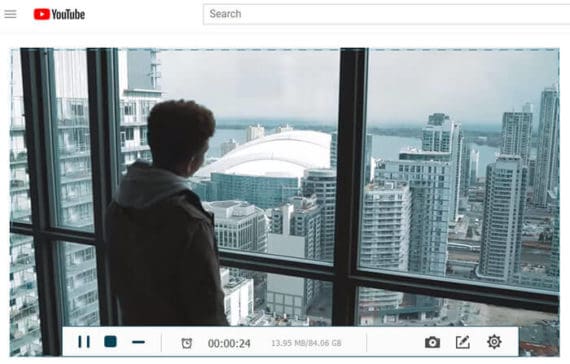
Step 4: Click the “REC” Button to Start Recording
Go back to the “Video Recorder” interface, and then click on the “REC” button to start the recording process. While recording, you can use the hotkeys to control the process. For example, end the record, pause/resume the record, take screenshots, hide/show the floating bar, and open/close webcam.
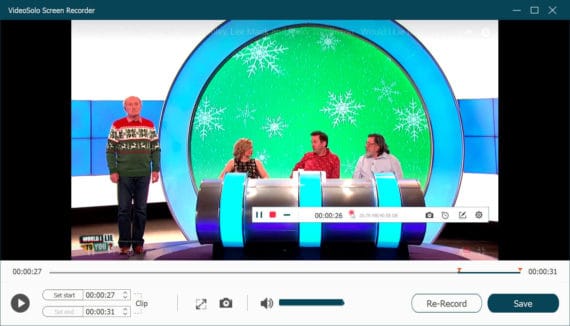
Step 5: Preview and Clip the Video
Click on the “Stop” button the end to the recording process. Before saving, you can preview the video and cut out the unwanted part, and then click on “Save“.
You can know more features about VideoSolo Screen Recorder in this video guide.
Above is how to record your screen with audio in Windows 10. The Windows 10 inbuilt screen recorder is great for recording Xbox gameplay and it is convenient to share the game video to the Xbox online community.
But comes to record anything you want on the computer screen, you can try VideoSolo Screen Recorder. It is a powerful, efficient and intuitive tool. You can get started very quickly.
Thanks for your kind sharing. It is so nice of you to show us how to use the Xbox Game Bar. I had trouble operating it. Now I also use Joyoshare Screen Recorder to record screen. It is able to record videos with audio in 1080p at 60fps on Windows and Mac. No lag, no watermark, and no time limit. I often use it to make how-to videos for my art students. I am glad to share it here as an alternative.
Thank you! That sounds like exactly what I’m looking for!