Are you looking to create a tutorial, record a presentation, or capture a gaming session on your Mac computer? If so, this thorough guide will instruct you on how to screen record on a Mac. Whether you have a MacBook or an iMac, this guide has you covered.
In this Page
Basic Requirements for Screen Record on Mac With Audio
Before you start the screen recording process, it’s crucial to ensure that your device meets some basic requirements. This will provide the best quality recording and ensure the process runs smoothly.
Update Your Software
Make sure that your Mac’s operating system is up-to-date. Apple frequently releases software updates that can enhance the performance and functionality of your device, including its screen recording capabilities. To update your software, navigate to the Apple menu, select ‘System Settings…‘, and then click on ‘General‘ and go to ‘Software Update‘.
Check Your Audio Settings
Since you’re going to record the screen with sound, it’s important to check your audio settings. Go to ‘System Settings…‘, then ‘Sound‘, and ensure that your input and output settings are properly configured. If you’re recording your own voice, test your microphone to make sure it’s working properly.
Free Up Disk Space
Screen recordings can take up a considerable amount of disk space on your Mac, especially if they’re long or high-quality. Therefore, before you start recording, make sure that you have enough free disk space. To check your available disk space, click the Apple menu, select ‘System Settings…‘, and then click on ‘General‘ and go to ‘Storage‘.
Using Built-In Screen Recording Tools on MacBook and iMac
Your MacBook or iMac comes with built-in tools that allow you to screen record with audio. These tools are simple to use and don’t require any additional software downloads.
1. Screenshot Toolbar
The Screenshot Toolbar is a nifty tool built into macOS Mojave and later versions. It allows you to capture screenshots and screen recordings effortlessly. To access it, press Command + Shift + 5 on your keyboard. A toolbar will appear at the bottom of your screen with various options for screen capture.
You can choose to record the entire screen, a selected window, or a specific portion of the screen. To record with audio, click ‘Options‘ and select ‘Built-in Microphone‘.
When you’re done, click the ‘Stop‘ button in the menu bar to end the recording. Your screen recording will be saved automatically to the location specified in the Screenshot Toolbar options.
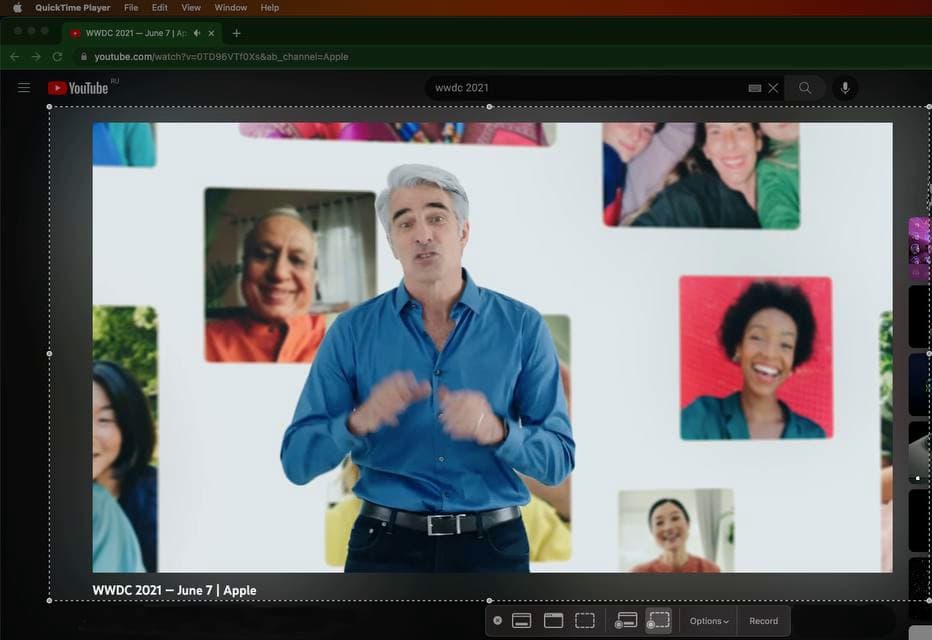
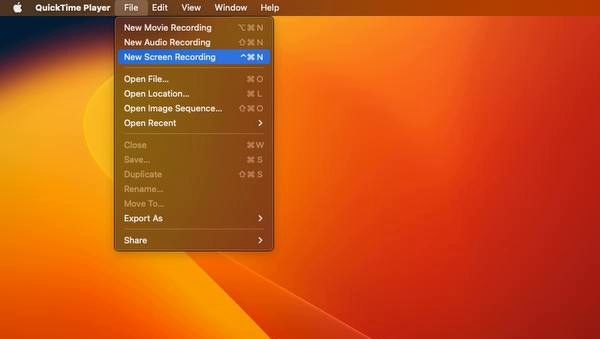
2. QuickTime Player
If your Mac runs on an OS version older than Mojave, you can use QuickTime Player for screen recording. Open QuickTime Player from your Applications folder and select ‘File‘ > ‘New Screen Recording‘ from the menu bar.
You’ll see a Screen Recording window. Click the drop-down arrow next to the record button to select your microphone for audio recording. Click ‘Record‘ to start and ‘Stop‘ when you’re done. QuickTime Player will automatically save your recording.
Using Third-Party Desktop Screen Recorders for Mac
While the built-in tools on your Mac are sufficient for basic screen recording, you might need more advanced features for professional or complex recordings. In this case, consider using a third-party Mac screen recorder.
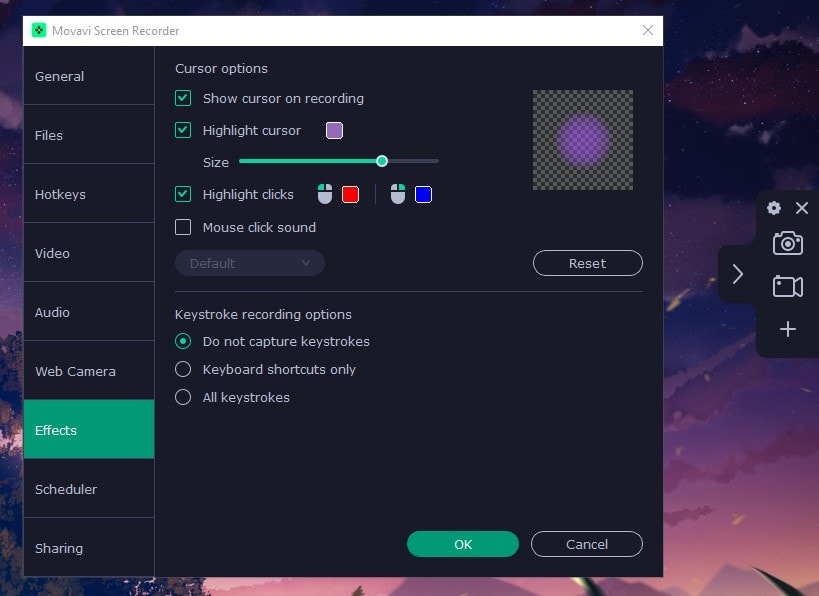
1. Movavi Screen Recorder
Movavi Screen Recorder is straightforward to use, making it an excellent option for beginners that need to create explainer videos, capture webinars, video calls, and more. You can take screenshots, record different dimensions, add shapes, draw on the screen, and trim finished recordings. Additionally, the software allows you to schedule recording sessions in advance and supports direct export to YouTube and other platforms.
2. OBS Studio
OBS Studio is a popular, free, and open-source screen recording software that offers a lot of flexibility and customization options. With OBS Studio, you can record your entire screen, a selected window, or a specific area of your screen. You can also add multiple audio inputs, making it a great option for recording a conversation or interview. It also supports a streaming module, so you can record and share the screen at the same time.

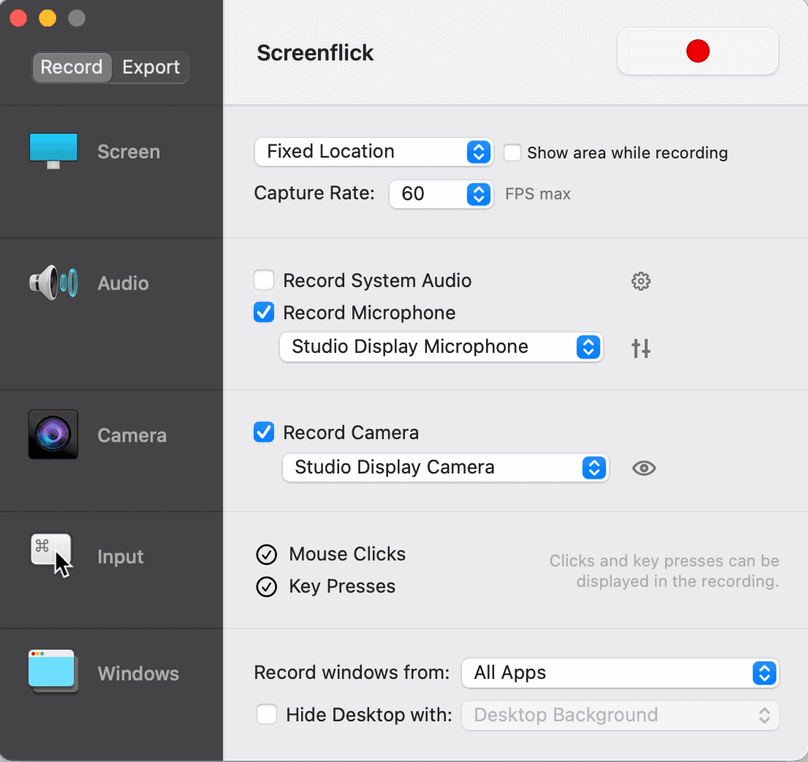
3. ScreenFlick
ScreenFlick is a powerful screen recording software for Mac. It offers a wide range of features, including high-quality screen recording, audio capture, and a built-in movie editor. ScreenFlick can record your entire screen or a specific area, and it allows you to choose the frame rate of your recording. You can also draw on your screen while recording and choose video quality up to 60fps.
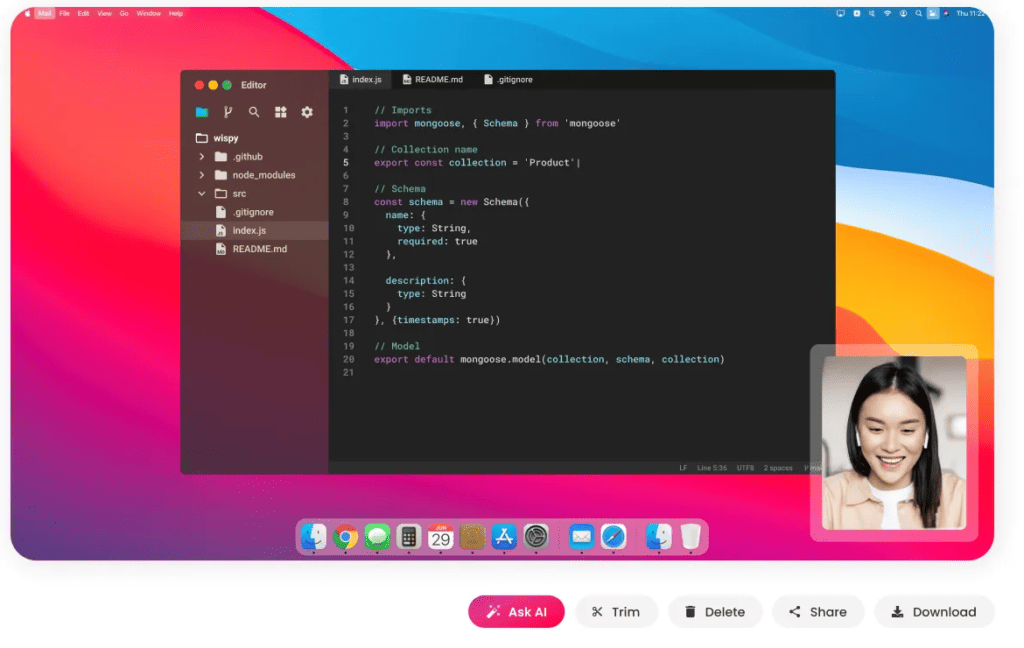
4. CleanShot X
CleanShot X is another powerful screen recording software that’s designed specifically for Mac. Although it’s paid software, it offers a wide range of features that justify its price. With CleanShot X, you can record your screen with audio, edit your recordings, add annotations and effects, and even record from your iOS device. This tool supports Cloud storage, so you can keep all of your recordings in one place.
Using Online Screen Recording Apps
If you’d prefer not to download any software to your Mac, you can use online screen recording tools. These web-based apps allow you to record your screen directly from your web browser.
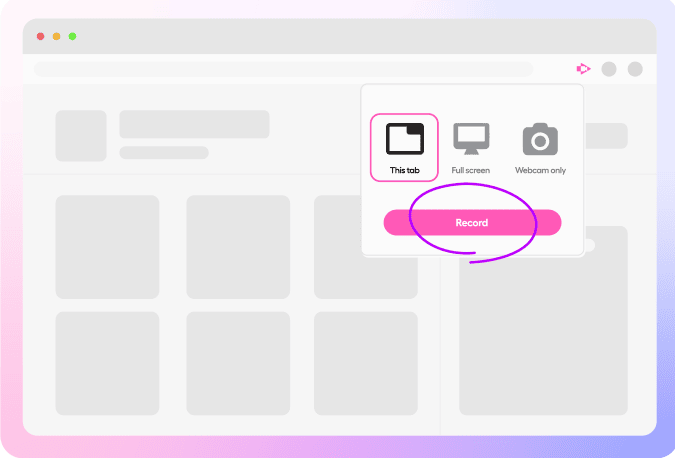
1. Screenapp.io
Screenapp.io is a simple, user-friendly online tool for screen recording. It doesn’t require any downloads or installations – all you need is a web browser. Screenapp.io allows you to choose between recording your entire screen, a specific application window, or a browser tab. It also has a GPT plugin installed, which allows you to make notes and summaries automatically.
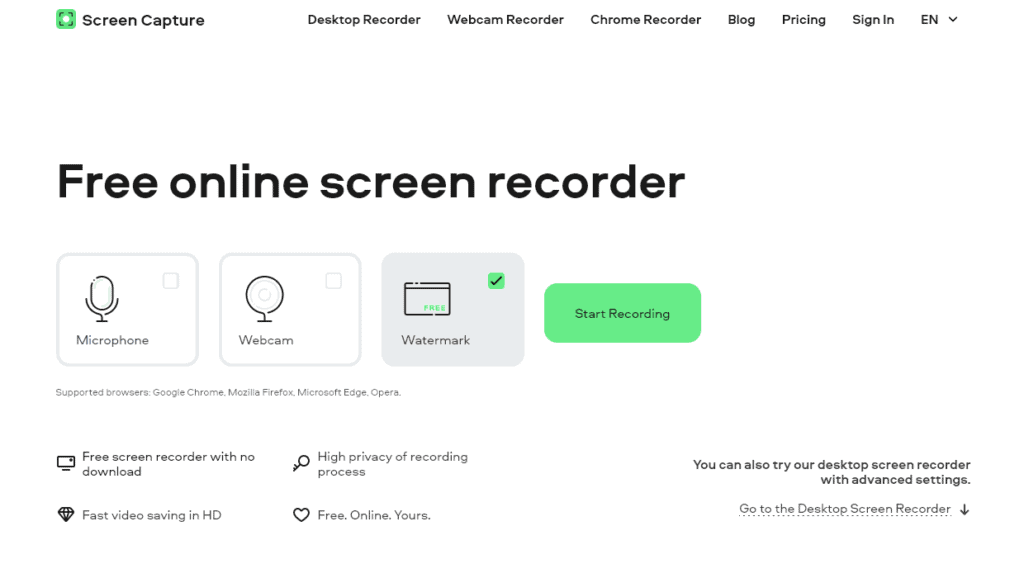
2. ScreenCapture.com
Screen Capture is an online screen recording tool that offers a range of features. It allows you to record your entire screen or a specific area, and it also offers webcam recording. Moreover, Screen Capture provides a Chrome extension, giving you access to screen recording within one click.
3. Screencastify
Screencastify is a screen recording extension for Google Chrome. It’s a versatile tool that can record your entire screen, a single tab, or a webcam. Additionally, Screencastify offers editing tools, that allow you to trim, crop, and annotate your screen recordings. Plus, it lets you share videos on any channel and keep track of viewing activity and comments.
Conclusion
Learning how to screen record on Mac with audio can significantly enhance your presentations, tutorials, or gaming sessions. Whether you choose to use the built-in tools on your MacBook or iMac or opt for a third-party app, this guide has provided you with the necessary steps to successfully record your screen with audio.
Remember to prepare your Mac properly before recording and pick the tool that best fits your needs. Happy recording!