One of the usual problems that most people face while transferring data between computers using an NTFS disk is the data format. This is how this issue normally surfaces up: you plug the disk on your Mac, everything is all good, no problem whatsoever until you notice you can’t write or make changes to the NTFS disk.
This kind of problem is quite common for cross-platform data transfer. Using NTFS drives on macOS has already been a challenging thing to do. However, with the methods we have listed below, you can help yourself access NTFS drives and write to NTFS drives on macOS effectively.
What Does NTFS Stand for?
NTFS, also called NT file system or New Technology File System, is a proprietary file system developed by Microsoft to store, organize, and retrieve all the data on hard drives. This file system is characterized by high security, flexible allocation of capacity, file compression support, file system journaling, large volumes support, and more.
However, Mac uses a different file system called APFS to do the same. Hence, when an NTFS drive is connected with a Mac, it will not support writing to the drive because of format incompatibility. In other words, the Mac will allow users to read files from NTFS drives, or copy files from NTFS drives, but writing to them on Mac is locked. Thus, if you want to access, read and write to NTFS drives easily, what should you do? Don’t worry! Let’s the go-ahead to explore the answer.
Reading and Writing to NTFS Drives on Mac Easily
There are multiple ways to access NTFS drives on macOS effectively. However, not every method may suit your needs as sometimes you need to format the drive before using it. Here are different ways to read and write to an NTFS formatted drive on macOS with and without formatting.
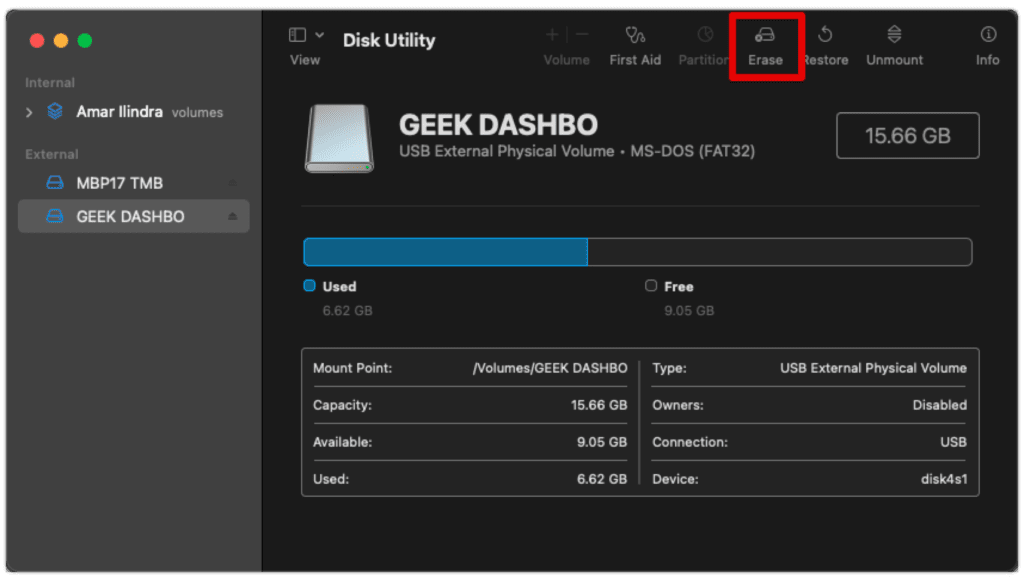
Method 1: Format the Device (Quick but Loss of Data)
To solve the format issue while a cross-platform transfer, the simplest method is to reformat the NTFS drive to what your system supports. If you have an empty NTFS drive and want to use it on your Mac computer, reformatting the drive might be an easy way around to solve the format issue.
However, what if you have important files in your NTFS drives, and reformatting the drive might risk losing your sensitive data if you don’t have a backup. In that case, you have to look for a solution that doesn’t involve reformatting the data.
There are several other alternatives to reformatting. Although some of the methods cost or are time-consuming, they certainly offer security to the NTFS drives.
Method 2: Using Terminal Window (Experimental)
Enabling write support to NTFS devices on your Mac using the Terminal program can also be a great option to access NTFS drives on your Mac. Although this is just an experimental feature from Apple to gauge the potential of this feature, it certainly gets the job done.
The main benefit of using the Terminal window to access NTFS drives is that you do not risk your data (in case of reformatting) or pay to buy software (a third-party application). To get started, just go to Launchpad > Other > Terminal, and then a black screen window will appear. That is the Terminal window. Now follow the steps given below.
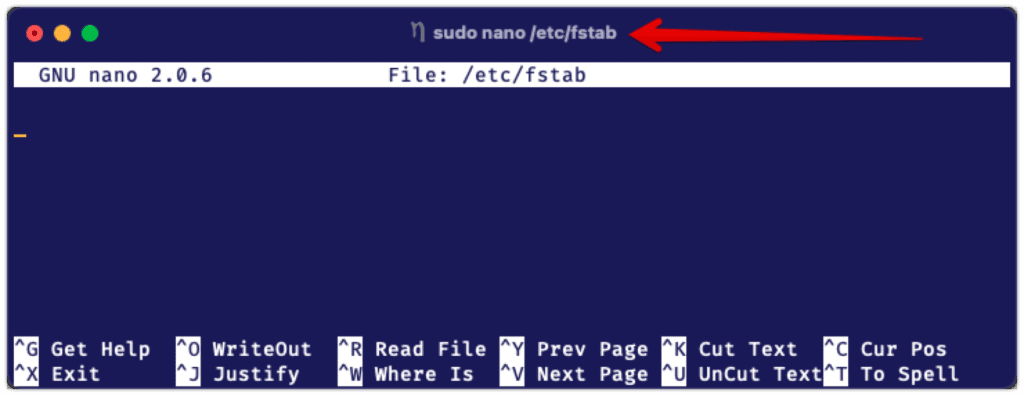
- Type the
sudo nano /etc/fstabcommand and hit the Return key.
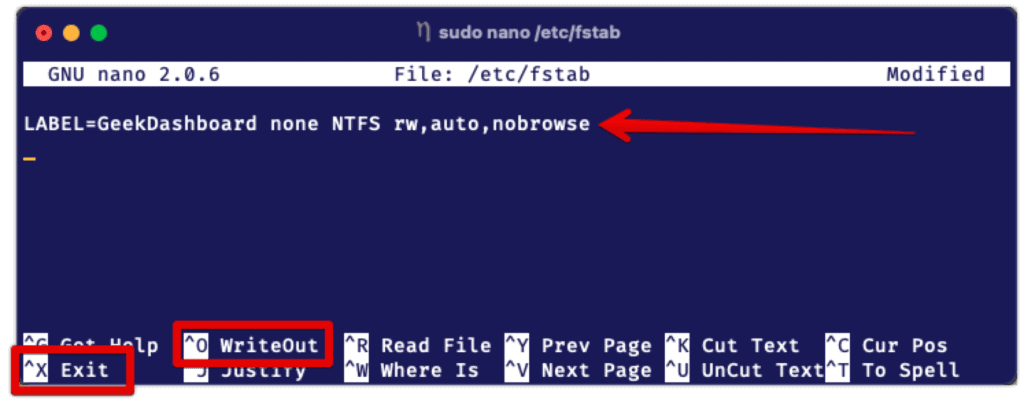
- Type
LABEL=NAME_OF_DRIVE none NTFS rw,auto,nobrowseto enable NTFS write support on Mac. In place of NAME_OF_DRIVE, use the real name of your NTFS drive. - Save the setting by clicking CTRL + O and clicking the Return key.
- Exit the nano window by pressing CTRL + X.
- Restart your Mac, and then insert the NTFS drive into your Mac again.
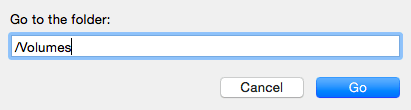
- Press the Shift + Command + G key combination and input
/Volumesto open the NTFS drive.
Method 3: Use iBoysoft NTFS for Mac Software (Third-Party Tool)
The fact that macOS doesn’t support writing to NTFS drives, leading to the development of many third-party NTFS for Mac tools, can be particularly helpful when you hope to manage your NTFS drive or have the full write privilege to it on Mac.
iBoysoft NTFS for Mac is dedicated to helping users read and write NTFS drives on Mac securely. As a disk management tool, it enables you to manage all your NTFS drives including opening, ejecting, mounting, unmounting, and formatting NTFS disks.
This disk management utility also tracks the NTFS drives for any errors and fixes them before they become serious problems. In addition, it also permits you to perform non-NTFS drives management with ease, such as opening and formatting non-NTFS volumes in a few clicks.
Follow the below-mentioned guide to open NTFS drives and write to them on macOS:
- Download iBoysoft NTFS for Mac from its official website.
- Open the .dmg file and follow the on-screen wizard to complete the installation process.
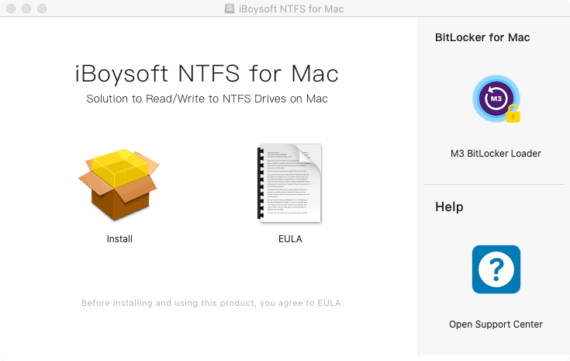
- Launch Microsoft NTFS for Mac and connect the NTFS drive to your Mac.
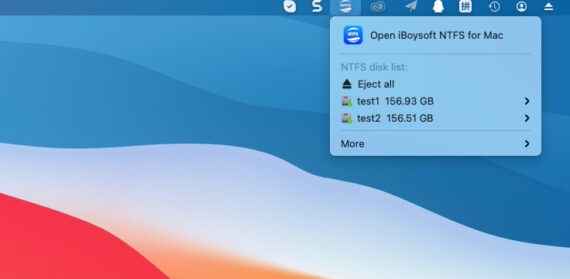
- Wait till your NTFS disk is automatically mounted in the read-write mode.
- Now, select your NTFS disk from the left panel to access the drive and write to it as you expect.
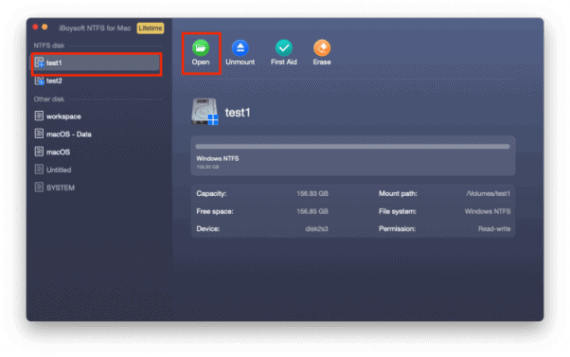
- You can now add, delete, modify, read files from your NTFS drive.
Method 3: Make use of Boot Camp (Long way but Works)
If none of the methods grab your attention, then the Boot Camp function certainly will work. Boot Camp Assistant is a utility that allows the user to install Microsoft Windows inside the Mac.
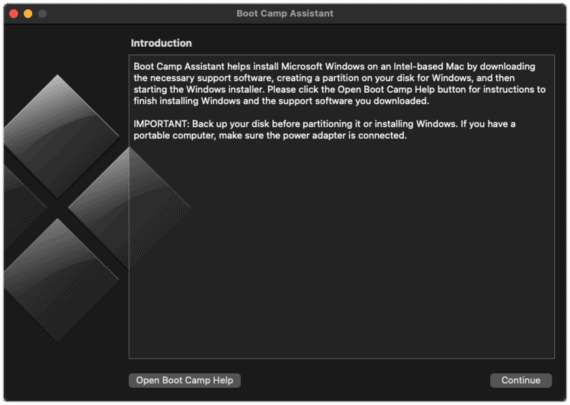
However, you must know this method comes with a perk. For the first 90 days, you’re allowed to use the Windows operating system on Mac for free. But after the trial period, you need to purchase a license and activate the Windows.
Was That Helpful?
That’s it for this article. Here we have enumerated different methods to solve the data format issue while cross-platform data transfer. If any of the methods work for you, do let us know. And yes, also share your experience while enabling the write function on the NTFS drive on your Mac device.