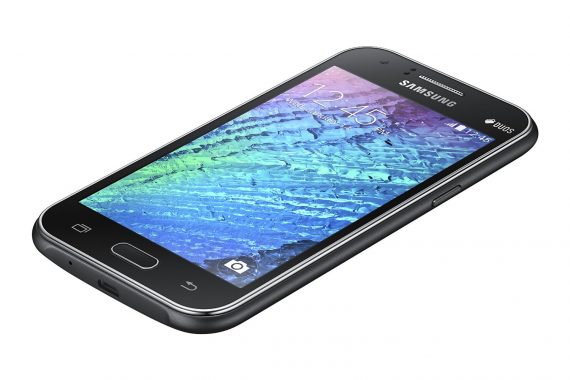
In this article, we will cover everything in detail about how to root Samsung Galaxy J1 SM-J100H. You just bought your Samsung Galaxy J1 SM-J100H but aren’t satisfied with its features and apps. You want to remove the extra bulge(stock apps) from your phone but, unfortunately, you can’t. But every problem has a solution and this is not the exception, so the solution to this problem is rooting your Samsung Galaxy J1 SM-J100H which is detailed out in this article.

So be ready to customize, tweak and root Samsung Galaxy J1 SM-J100H to your needs and desire and unlock its full potential.
Precautions and Tips:
- Charge your phone to at least 40% so that you experience no problems.
- This is not Data loss process i.e., that your information and data including media, documents, and other files wouldn’t be deleted and would be preserved as it is.
Also Read: How to Save Battery life in Android Devices.
How to root Samsung Galaxy J1 SM-J100H
Step #1 Download Samsung USB Drivers from here (bit.ly/usbDriver). If you’ve already installed the drivers, you may safely skip this step.
Step #2 Download (bit.ly/rootKit )the root files from here and extract it to your computer.
Step #3 Now you should shutdown your device.
Step #4 Now you’d need to boot in Download Mode. To enable Download Mode press and hold VOLUME DOWN + HOME + POWER BUTTON at the same time for 6-10 seconds until the phone becomes active.
Step #5 If you’ve successfully activated the download mode, you’ll see a yellow warning triangle with an exclamation mark. To continue, press VOLUME UP button and connect your mobile to PC
Step #6 Now open the folder in PC where you extracted the files and open the icon saying ‘odin3’.
Step #7 If your Smartphone is successfully connected to your PC, Odin will automatically add it onto the ‘Added‘ message in lower-left pane.
Step #8 Now click the button saying PDA and select the boot.tar.md5 file – this is the file you downloaded in ‘step #2’.
Step #9 Click on start button to start the flashing procedure.
Step #10 A green box saying ‘Pass‘ verifies the completion of the flashing process. The procedure usually takes up to 50 seconds to complete. Note that the smartphone would boot automatically in this process.
Step #11 Download and install iRoot Application from here (bit.ly/iRootApp).
Step #12 Open the application and once again connect your phone. iRoot will automatically detect your smartphone.
Step #13 Finally, click on the button namely ‘Root’ in the lower-right side.
Step #14 iRoot will automatically reboot your phone and install KingUser App.
To verify the root either you can use the Root Checker app from the store or see the SuperSU app in the App Drawer.
Also Read: How to check if phone is rooted or not
Final Thoughts
So geeks out there. did you successfully root your Samsung Galaxy J1 SM-J100H? Any problems you confront during the process? Let me know in the comments below.

this method is not working!!!!!!!!!!!!!! iroot is not detecting my phone…