We have seen SSL certificates being used mostly for e-commerce sites for an extra layer of protection and helps us find the difference between phishing & real site. SSL isn’t mandatory for WordPress sites or blogs till Google is now treating SSL as a ranking signal.
They made it obvious by pushing Chrome updates which tell users whether the site is secured or not. The majority of the sites are migrating to HTTPS from HTTPS. If you are looking to install paid SSL certificate on your WordPress website, then this guide is for you.
What is an SSL Certificate?
An SSL certificate contains information helping to authenticate the ownership of the website. It also contains a cryptographic key which is provided as well as maintained by a Certificate Authority. Every browser and operating system maintains a list of approved certificate authorities so that they can alert the user if there is any discrepancy.
One can easily identify a trusted and secured website by the “Green Padlock” which is displayed in the address bar of a web browser. It ensures that the connection between the browser and the server where the site hosted is properly encrypted as well as the domain ownership is validated by the certificate authority.
Most website owners nowadays get their SSL certificate when going through the process of hosting their website on whichever provider they choose. Having said that, this article will show you how to set up SSL on your WordPress site with cPanel.
One can easily check the certificate details on the browser. Follow the below steps to check the SSL certificate details of any website.
- The Green Padlock can be seen on secured websites.

- You can hit F12 or Inspect Element >> Security on Chrome.
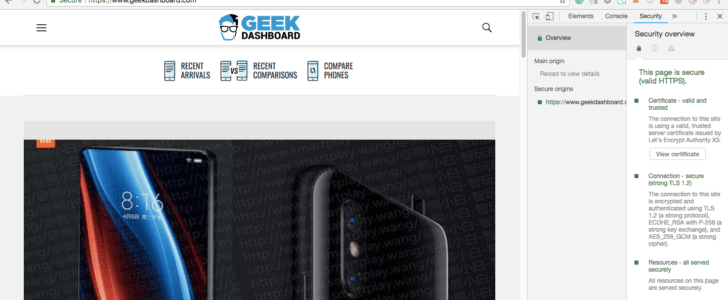
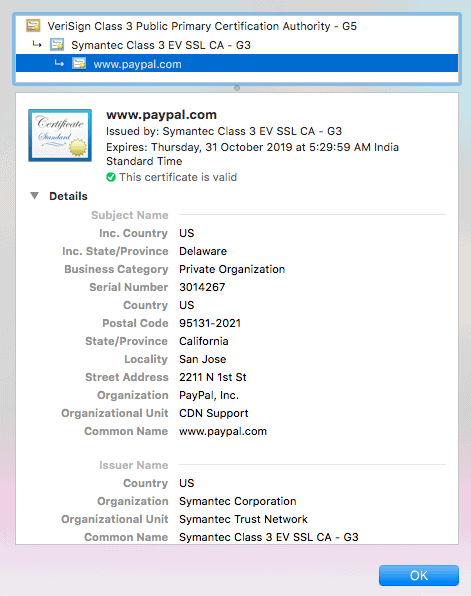
- Now you can see the details of the certificate by clicking “View Certificate”.
Although there are different types of free, self-signed, and paid SSL certificates, We recommend using a paid one. The free & self-signed certificates come with a catch they don’t provide any support. You need to Google or hire someone to fix the issues whereas a premium SSL certificate comes with support that will help you to troubleshoot the problems with no extra help.
Some free SSL certificates don’t need any configuration at all. In case you bought a paid SSL certificate then you might be struggling to set it up on your server using Cpanel. Don’t worry we got your back. In this guide, we are going to show you How to install an SSL certificate on WordPress using cPanel. If you need help with any part of the tutorial do let us know via the comment section below.
Installing SSL certificate on WordPress using cPanel
If you are reading this article, We are assuming that you have already bought or thinking to buy an SSL and are looking for a way to set it up on your website using cPanel. Follow these steps to install a paid SSL certificate on the WordPress site:
- Generate a CSR (Certificate Signing Request)
- Uploading & Installing your SSL certificate.
- Activating the certificate.
- Switching WordPress to HTTPS.
1. Generating a CSR on cPanel
First and foremost you need to generate CSR for the Certificate Authority to issue an SSL for your site. It is quite easy on cPanel, follow the steps below to generate CSR for your WordPress website.
- Login to your hosting account.
- Under Security, Click the “SSL/TLS” Manager.
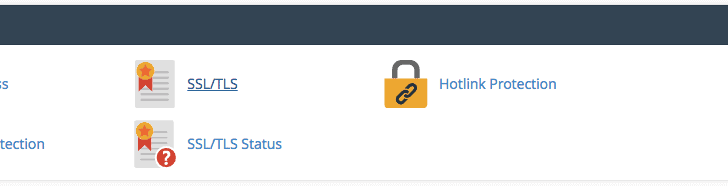
- Choose Certificate Signing Requests.
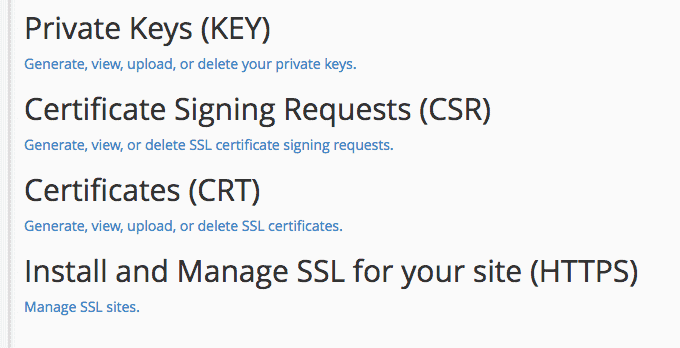
- Complete all the necessary fields and click “Generate”.
You can find it under “Encoded Certificate Signing Request”. To order an SSL certificate you need to provide it to the issuing authority and they will provide SSL certificate for your website in the form of a CRT file. Now you need to install it on your cPanel.
2. Uploading & Installing your SSL Certificate
You must have CRT file provided by Certificate Authority to follow the below steps. You can find it in your email as well as in the dashboard of the issuing authority.
- Login to your hosting account.
- Open “SSL/TLS” Manager under Security.
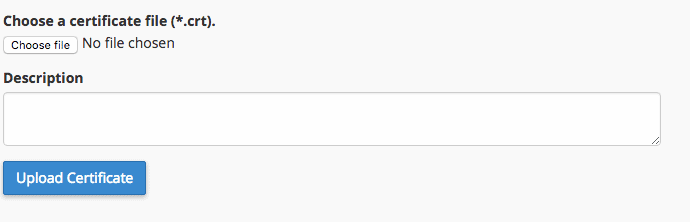
- Now navigate to Certificates and Click on Upload.
- Select the CRT files from your computer and hit Upload Certificate.
3. Activating your Certificate
- Under Certificated on Server Section, Check for the domain you want to use and click Autofill by Domain.
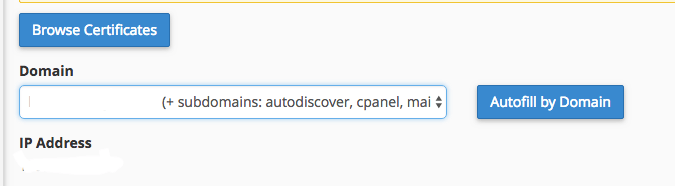
- Make sure that you select the domain you want to secure.
- Click Install certificate and you are good to go.
4. Switching WordPress to HTTPS
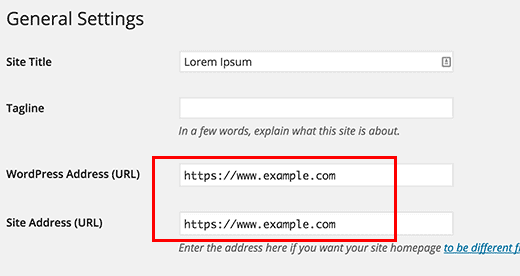
You need to update the WordPress Address and Site Address under Settings >> General. This will ensure that users, as well as the members of the site, can access the site using HTTPS connection only.
If you are setting up SSL on your HTTP site then you need to do a proper redirection on the server level so that all the users are redirected to the secured pages only. You can simply add the following line to your .htaccess file. You will find the .htaccess file in the WordPress installation root directory.
<IfModule mod_rewrite.c>

RewriteEngine On

RewriteEngine On

RewriteCond %{SERVER_PORT} 80

RewriteRule ^(.*)$ https://www.yoursite.com/$1 [R,L]

</IfModule>
Even after adding the redirection code in the .htaccess file, some users might report that they are seeing “Yellow Padlock” or “Red Padlock” instead of “Green Padlock”.
This is because some of the links of your WordPress files are still loading an HTTP version instead of HTTPS. The fix for the problem is simple.
- Login to your WordPress Dashboard
- Go to Plugins and click Add New.
- Search for “SSL Insecure Content Fixer” or download the plugin here
- Install & Activate the plugin.
That’s it you have successfully installed a third-party SSL certificate on your WordPress website. In case of any issues then do let us know in the comments below so that we can help you out.