Windows 10 works smoothly like butter in the beginning. Gradually it slows down and there can be many reasons behind it. Today, let us see how we can make Windows 10 perform faster. We will start with the basic steps to make Windows 10 perform faster. Even a newbie, won’t face any kind of problem while following the instructions to make Windows 10 perform faster.
How To Make Windows 10 Perform Faster
1. Clear Your Desktop
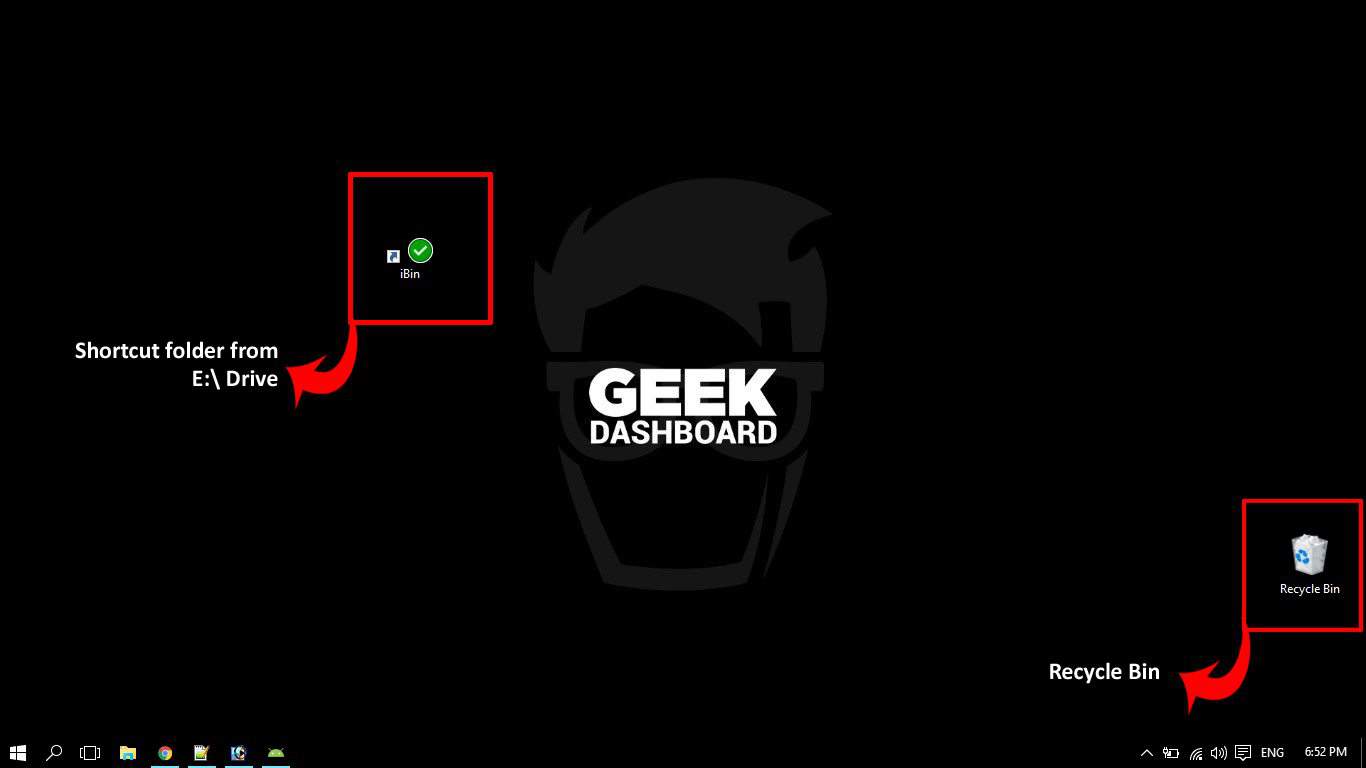
We end up storing lots of files, folders, and tools in the desktop for quick access, and perhaps this is the reason they are labeled as the mini tool. Once you start your PC, you have everything in front of you. Doesn’t it feel great to see your desktop filled with stuff as it indirectly proves that you are a very busy person?
Well, you need to take a break here and remove all the unnecessary items from the desktop as all the items present in your desktop eats the speed of your Windows 10. So, the very basic step towards a faster performance of Windows 10 is removing unnecessary shortcuts or folders from the desktop.
2. Permanently Remove The Unnecessary Items
We end up deleting the unnecessary items in a manner that, those items get stored in the Recycle Bin of your Windows 10. This incomplete way of deleting items consumes the HDD space of your Windows 10 and therefore, I would advise you to empty your recycle bin. You can empty the recycle bin in three simple steps:
- Right-click on the icon of the Recycle Bin.
- Select ‘Empty Recycle Bin’.
- Select ‘Yes’ to confirm your decision.
Voila! Your recycle bin is now empty.
3. Install CCleaner in your Windows 10
It is advised to keep one cleaning tool in each Windows PC and if you want to consider the best cleaning tool for your Windows 10, then you should go for CCleaner. The two important tasks that CCleaner will do for you include:
Task 1: It will optimize your PC by scanning, examining all the files, and by cleaning the detected infected files.
Task 2: It will clear all the history stored on your PC.
4. Time To Clear Temp & Recent Files
When you open files in your PC or do some actions, all the things get stored in temp and recent files. This storage of your actions consumes space of the disk which in turn slows down your Windows PC and therefore you should be clearing temp and recent files at regular intervals in order to save disk space. You can clear temp and recent files easily by following the steps mentioned below.
- Press Win + R together. This will open the Run dialog box.
- In the Run dialog box type ‘%temp%’ and press Enter.
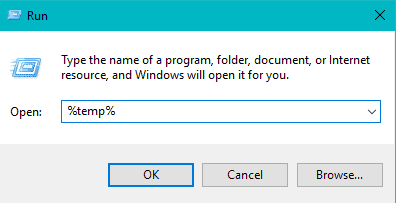
- You will be directed to the temp folder. Press Ctrl + A and then hold the Shift tap on the Del button to remove all the files.
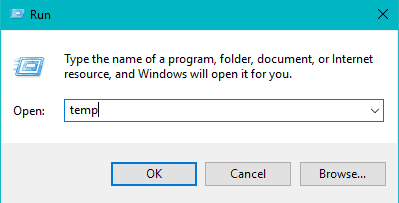
Follow the same process for ‘temp‘ and ‘prefetch‘ as well, in addition to ‘%temp%’.
- Now to move to the recent file section and repeat the same procedure to clear all the recent files stored in Windows 10.
You have now successfully cleared temp and recent files from your Windows 10.
5. Remove Adware from the PC
While downloading from the internet, you unknowingly also end up downloading adware from the internet to your PC. This adware not only slows down your PC but also has the potential to infect the files. In such a scenario, it becomes important for the users to remove adware from PC. One can easily remove adware from the PC with the help of an adware tool.
6. Clean the Disk of your PC
It is very important to store a disk Cleanup in your Windows 10 to make it perform faster. The Disk Cleanup maintains a balance in the speed of the Windows PC by removing all the unwanted and unnecessary items from the PC.
7. Disable Background Programs
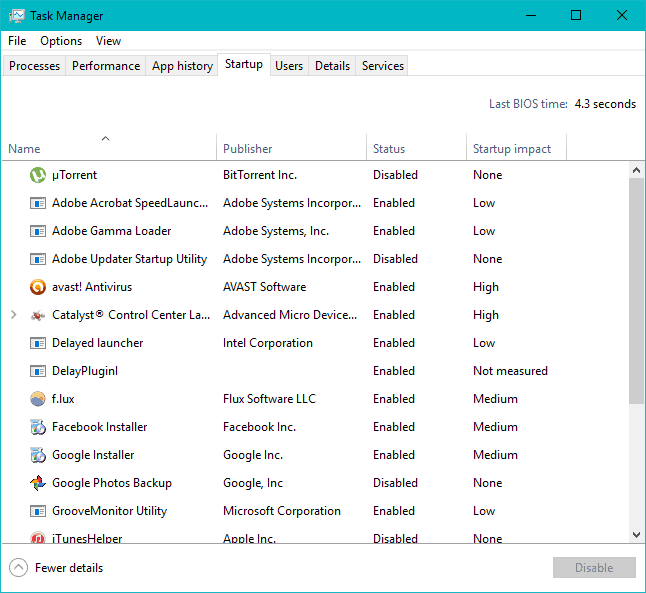
When you start your PC, many programs start running. In order to make Windows 10 faster, you will have to disable all the background programs running on our PC, that aren’t really necessary. You can end the background running programs directly from the Task Manager. You can follow the steps mentioned below to end programs successfully.
- Open the Task Manager.
- Click on the ‘Startup’ Tab.
- Disable background apps present in the tab by clicking on ‘Disable’.
Disable Unwanted Programs
Yes! You are done for now.
8. Disable Transparency Effect
In order to get the extra edge while using our PC we end up using fancy effects which in turn ends up consuming the power of the PC and as a result, Windows 10 slows down. Therefore, we should bid farewell to these special effects for a faster-working PC. To disable the transparency effect, follow the steps mentioned below.
- Right-click on the desktop.
- Select the Personalize option.
- Choose Colors.
- Turn off ‘Make Start, taskbar, and action center transparent.’
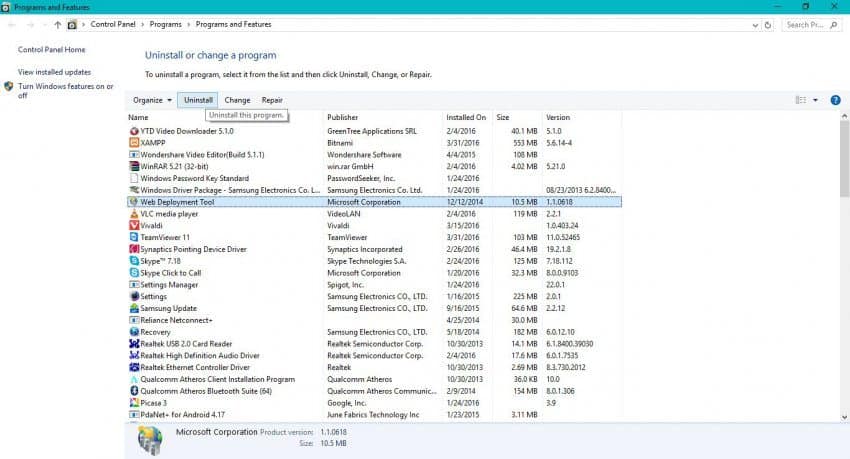
9. Uninstall Unused Programs from the PC
Many times, we download programs that we no longer use. There is no use in giving such programs space in our PC. So, it is advised that such unused programs from the PC should be uninstalled. Follow the steps mentioned below to uninstall the unused programs from the PC.
- Right-click on the Start button.
- Click on ‘Programs and Features’.
- Select the program that you want to uninstall and then click on ‘Uninstall’.
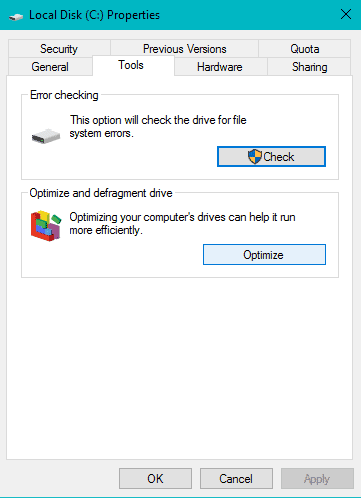
10. DeFragment your C Drive
When you defragment the C: drive of your PC, you end up optimizing it. You can perform the defragmentation of all drives by following the steps mentioned below:
- Right-click on the Start button.
- Click on the link of File Explorer (or simply head to File Explorer).
- Right-click on the Local Disk C.
- Choose Properties.
- Click on the tab labeled as ‘Tools’.
- Select Optimize.
Conclusion
I am sure that if you end up doing all the ten things mentioned above, your Windows 10 will start working at the lightning speed again.
If you have successfully managed to make Windows 10 perform faster by using our tips, then don’t forget to share the post.