No matter how you slice it, app removal is an integral component of user experience. Whether you need to release disk space on Mac, uninstall a malicious app, or get rid of software you aren’t using anymore, this task ends up on your to-do list once in a while.
With macOS being incredibly intuitive and flexible overall, uninstalling apps is usually a breeze. But what if your efforts to delete an app from Mac via the common methods are unsuccessful? The process may be accompanied by error messages, a bunch of leftover files could stick around, or the program may stay up and running even though you thought you removed it for good.
The scenarios vary, but this is quite a roadblock to dodge. There is no need to worry, though. This article will explain how to delete apps from MacBook or Apple desktop computers.
Why Can’t I Delete Apps on Mac?
There are several possible causes for failed software removal on your Mac. For instance, you may run into hurdles in deleting pre-installed Apple apps from your machine. Another obstacle kicks in when you try to remove an app that’s currently open.

Also, an attempt to delete a potentially unwanted application (PUA) such as Mac adware may be futile because its core files typically remain inside the LaunchAgents, LaunchDaemons, and Application Support folders. These hidden entities may re-launch the app the next time you start your computer.
How to Delete Apps on Mac?
The following walkthroughs will show you how to delete applications on Mac and get around the above pitfalls.
Let’s start with classic software removal techniques that may or may not work depending on the situation.
Method 1. Delete an App from the Launchpad
Not only is the Launchpad a great tool to open your apps quickly, but it also provides a software removal option many users are unaware of. Here is how to leverage this lesser-known feature of the Mac utility in question:
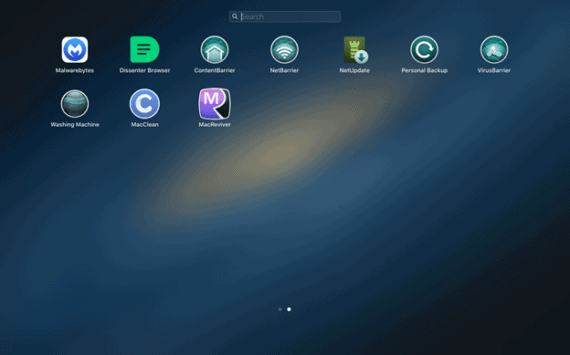
Step 1. Open the Launchpad
Click the Launchpad icon (the one with a rocket pictogram) in your Dock as illustrated below.
Step 2. Locate the App You No Longer Need
Find the app you want to remove. Press and hold the Option (Alt) button on your keyboard, or left-click and hold any icon until all apps jiggle.
Step 3. Delete the App
When in jiggling mode, an “X” button should appear next to the app you are up to remove. Click it and confirm by selecting “Delete”.
Be advised that some apps may not show the “X” symbol. These are items installed from outside the official App Store or ones your Mac requires to operate smoothly. If this is the case, proceed to the next section that explains how to uninstall apps from the Finder.
Method 2. Delete an App Using the Finder
The Finder is a handy instrument to view and organize all the files, downloads, and apps on your Mac. You can use it to delete any app with a few clicks. Here is how you do it:
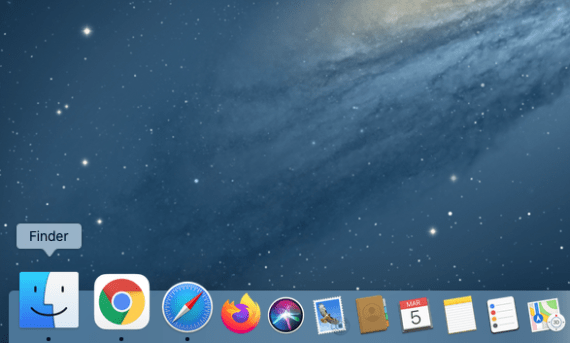
Step 1. Open the Finder
Click the Finder icon in the Dock to open it.
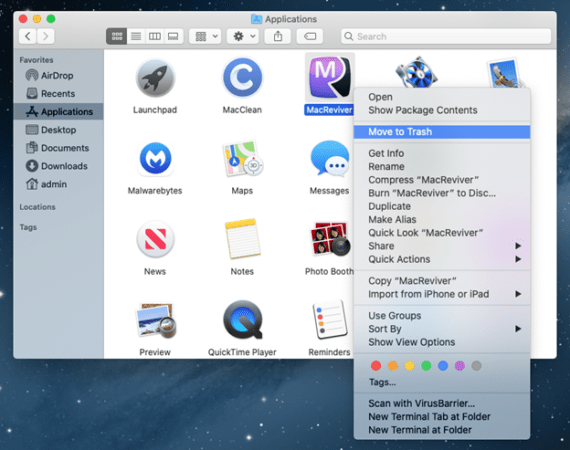
Step 2. Pinpoint and Delete the App Using the Finder’s Controls
Click “Applications” in the sidebar. Find the redundant app, right-click it, and select “Move to Trash” in the context menu. At this point, the operating system may ask you to enter the admin password. If so, go ahead and enter it to complete the uninstall procedure.
Step 3. Empty the Trash
Expand the Finder menu in the top part of the screen (it’s usually located next to the Apple logo) and select “Empty Trash” in the drop-down list.

On a side note, deleting the contents of the Trash folder is also recommended if you have successfully uninstalled the app using the Launchpad.
Can’t Delete Apps on Mac? Here Is What to Do
Sometimes the regular removal mechanisms highlighted above don’t do what they are supposed to. As previously mentioned, your Mac won’t let you delete an app that’s currently in use. Likewise, it will prevent you from eliminating default apps that came with macOS.
Also, if you have unknowingly installed malware, it will most likely survive the commonplace removal attempts and keep re-emerging no matter how hard you try to delete it manually.
Anyway, let’s go over the common barriers and the ways to overcome them.
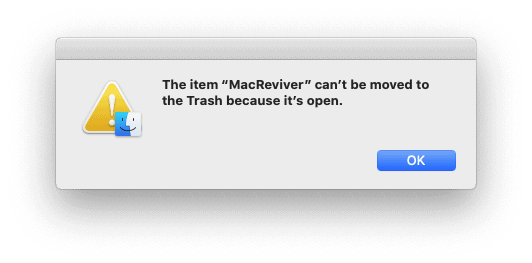
Can’t Delete an App Because It’s Open
You may get an error saying an app can’t be moved to the Trash because it’s open. In this case, the system will display a message like this:
The following simple tips will address this problem:
Step 1. Open the Activity Monitor
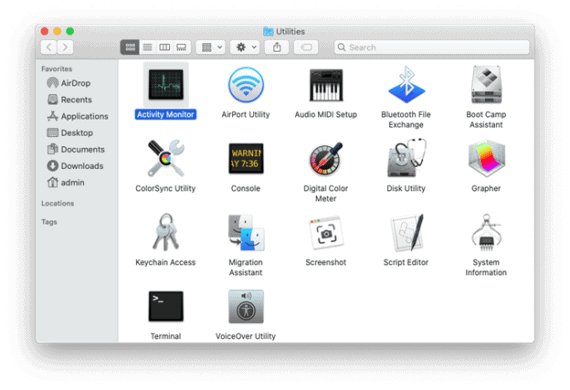
Click the “Go” button in the Finder toolbar and select “Utilities” in the list. Then, double-click the “Activity Monitor” icon to open it.
Step 2. Find and Quit the Process Used by the App
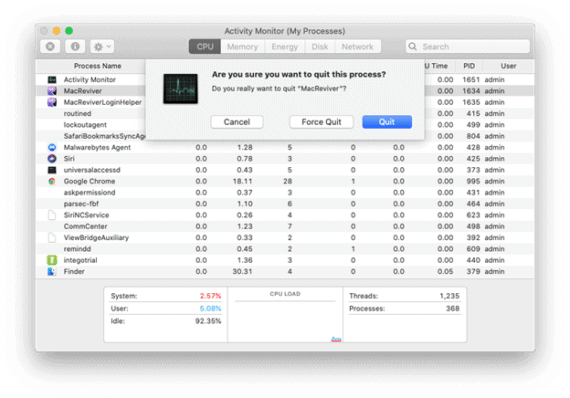
Find the app’s executable in the column called “Process Name”, select it, and click the “X” (“Stop”) icon in the top left-hand part of the screen. Confirm by clicking “Quit” in the dialog box that will appear.
Alternatively, you can right-click the app’s icon in the Dock and select the “Quit” option in the context menu.
Step 3. Remove the App from Login Items
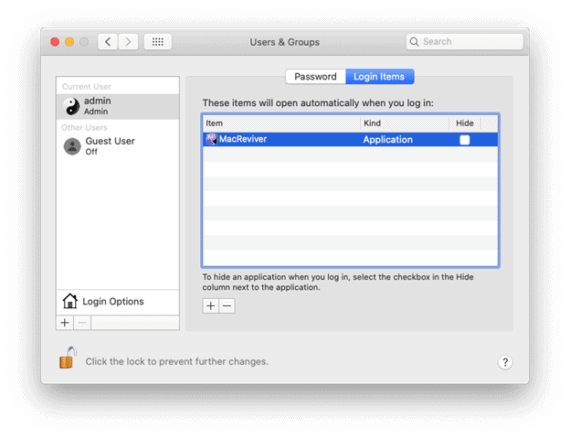
Go to System Preferences, select “Users & Groups”, and click the tab called “Login Items”. If the unneeded app is listed there, select it, click the padlock icon to make changes (this will require the password for your admin account), and click the “minus” symbol at the bottom to remove it. Unless you do it, your Mac may keep trying to open the app every time you log in.
Step 4. Delete the App
Now that the app is no longer running, you can use the Launchpad or the Finder to delete it (see previous sections to learn how). Don’t forget to empty the Trash when done.
The Bottom Line
In an ideal world, deleting an app from your Mac is a no-brainer and a matter of a few mouse clicks. In practice, this process can be hampered by several factors, and Mac users may have to go the extra mile to do it. If you are in the same boat, the above tips are absolutely worth giving a shot and if nothing works, the 3rd party cleaners will come to your rescue.
It’s helpful!