Streaming is the best thing to do in this scenario where we all are working from our houses. This will keep you engaged as well as your friends and other audience. Single-player or multi-player games, whatever you might like. Streaming them gives you a good experience to showcase yourself to the whole world right from your reactions to each expression during the game. Now that you want to start streaming, you might wonder where to get started.
Well, that’s what this article is about. This article will guide you exactly where to get started, which apps to use, and the right platform for you to choose between. Livestreaming is not limited to just gaming, you can stream whatever you like. For example, whichever you are good at. Be it coding Livestream or just chatting, there are tons of options for you to stream.
As you can see in the below screen on the Twitch website, games are the top viewed category and the second most viewed category is Just chatting where people just talk to their viewers as simple as that.

Platforms you can stream to:
There are tons of platforms, to begin with, the most used livestreaming platforms are as follows:
Let me share my experience with you on sharing on these platforms
Twitch
I have streamed over 600+ hours and have over 150+ followers on Twitch as of date. Twitch is purely networking. You have to be active in different communities, share your links with them, head over to different streams and interact with them, follow them, etc., to get someone to watch your stream. You have to be active on different platforms and not just on Twitch to grow.
The best part and the differentiating part of Twitch is that once you grow, you just grow. The bad part about Twitch is that you have to be an affiliate to get the encoder options meaning your viewers cannot change the quality of your stream. It will be streamed at the base resolution that you set in the streaming software. But another platform provides you with this option by default.
YouTube
This is the best platform, in my opinion, to get started. Why because mainly everyone has YouTube. Be it iOS or Android. Who doesn’t have YouTube on their phone? The same cannot be expected in Twitch or Mixer where you need to download them separately.
Thereby, targeting is much easier on YouTube where you share a link and someone can join your stream in an instant. All the essential features like a better server for streaming to AI to recommend your channel on the sidebar. That’s the best part. People can recognize you even if you don’t network much. It’s because you will be visible on their side banner if you are streaming similar content as they are.
Facebook Gaming
This is the second-best platform according to me for streaming because just like the above YouTube platform, who is not on Facebook? The networking is way easier here and the Facebook AI is right next to you to recommend your Livestream to the thousands of people who are online browsing Facebook.
A random share can gain you tons of views. In my case sharing it to a few groups got me over 12+ viewers and 500+ total views at the end of the stream. This happened in the first week of streaming on Facebook Gaming which is insane because if you use such opportunities to showcase your skills and attract the viewers, growth is guaranteed.
Mixer
This is one of the unheard platforms that has some interesting features but is less explored by gamers. Microsoft-owned streaming platform is one of the streaming platforms with lots of features, one of them being mainly interactive streaming meaning streamers can interact with their viewers with buttons, and the viewers can engage with it & the streamer.
In the same way, co-streaming is also an option here just like how you could do in the Twitch streaming platform. Server-wise, they have one of the efficient servers where the viewers can mess around with the quality and have the lowest latency, meaning the audience can view your stream with less to no lag/latency.
How do I get started with Live Streaming?
You can choose between two of the best platforms in which you can get started. Streamlabs OBS and OBS (Open Broadcast Software) are two of the best freemium tools that you can use to get started with your streaming.
How to Download OBS and Streamlabs OBS
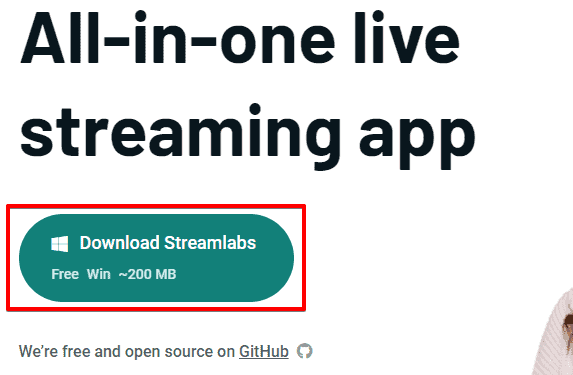
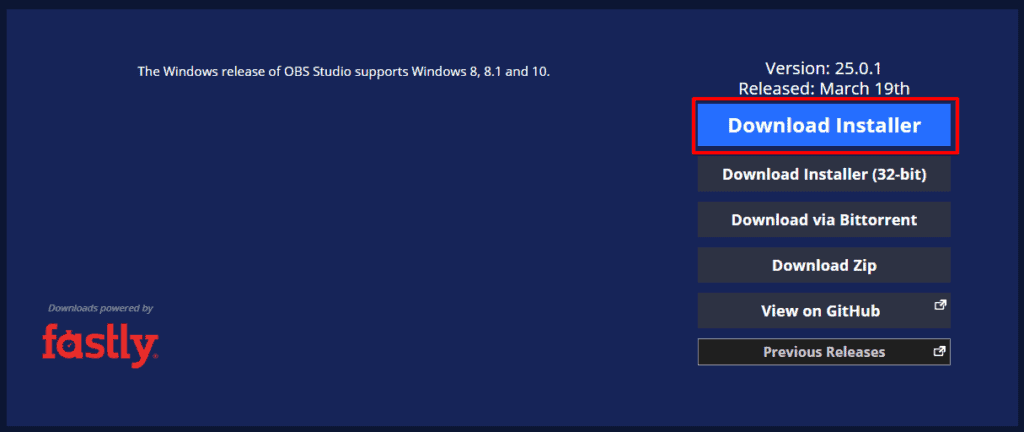
- The installation process is pretty simple. Head over to Google and search for OBS download (or click here) and search for Streamlabs download (or click here)
- Once you have downloaded it, install it the normal way to the desired folder and you’re done with the initial part.
Setting up with OBS classic
- Open up the software by clicking on the OBS Studio Icon on your desktop.
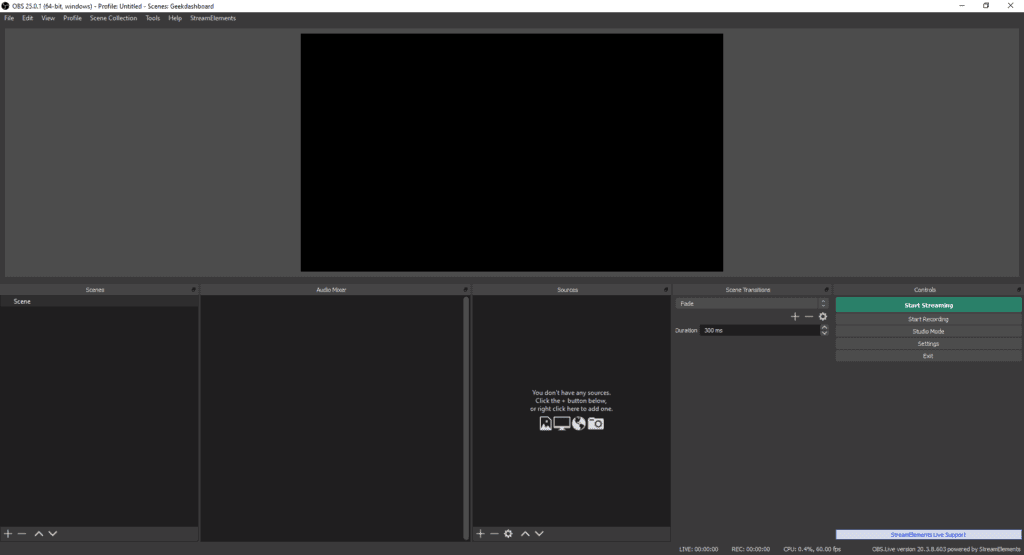
- Once you open up the OBS studio application for Windows, you will be greeted with this screen where you’ll have to manually add scenes which is pretty simple and will be explained in the upcoming steps
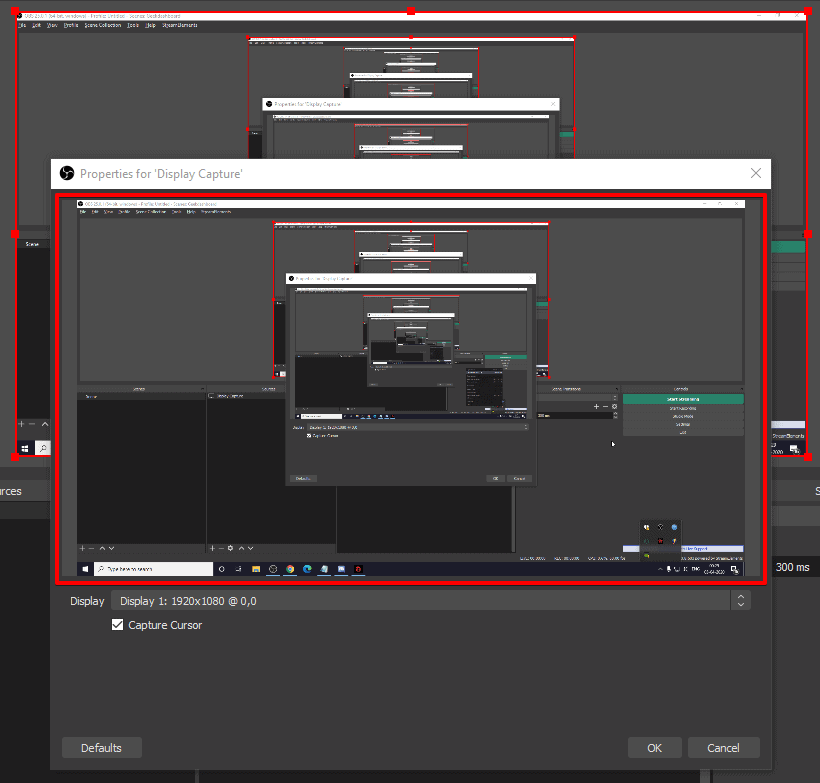
- There are two options here, in case you are going to stream your display as a whole, you have to choose the Display capture option. And in case you are going to stream a specific game, you have to select the Game capture option.
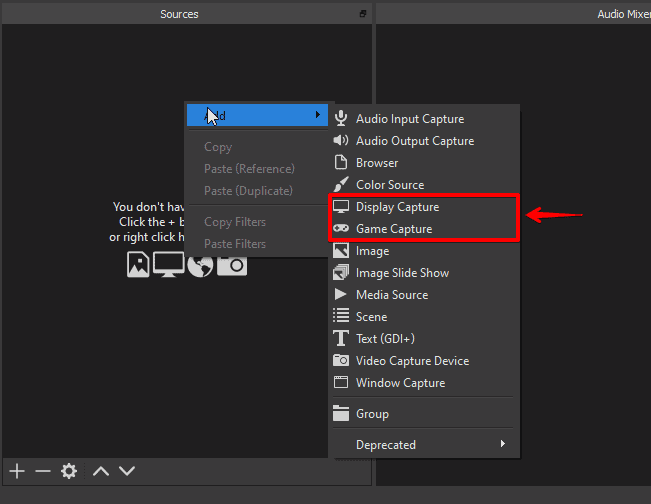
- If you are selecting the Display Capture option click on the option. Next, a pop-up will appear asking which display you want to choose desired display (Display 1 is the primary monitor, and Display 2 is the secondary in case you have one), and click on OK.
- If you want Game Capture to capture a specific game window, then choose Game Capture. Under Mode, select the option “Capture Specific window” and under the Window option, select the game name. By choosing the option, only the game screen/window will be streamed and nothing else will be streamed.

Note: The same steps can be followed in Streamlabs OBS to get the same settings right from adding a window capture & a game capture as it has the same interface for the steps mentioned above.
What settings should I use to stream
In my streaming experience, I have used the following PC Specs to stream
Here are the specs of my old PC which was used for 720p60fps streaming:
- Processor: I5 4440
- Motherboard: MSI Z97 Gaming 3 motherboard
- RAM: 8 GB Corsair Vengence Ram
- Graphics card: EVGA GTX 970 SSC
OBS settings I used (720p60fps)
Output Tab:
- Output mode: Advanced
Streaming:
- Audio Track: 1
- Encoder: Nvidia NVENC H.264 (new)
- Rescale output: 1280 x 720
- Rate control: CBR
- Bitrate: 3500 Kbps to 5000 Kbps
- Keyframe Interval (Seconds, 0=auto): 2
- Preset: Quality
- Profile: High
- Psycho Visual Tuning: Checked
- GPU: 0 (0 means 1 GPU, 1 means 2 GPU and so on)
- Max B-Frames: 2
Video Tab
- Base (Canvas) Resolution: 1920 x 1080 [This is your base monitor resolution]
- Output (Scaled) Resolution: 1280 x 720 [Stream output resolution]
- Downscale Filter: Lanczos (Sharpened scaling, 36 samples)
- Common FPS values: 60 [Stream output FPS; Higher the FPS, higher the CPU usage]
Here are the specs of my new PC which was used for 1080p60fps streaming:
- Processor: Ryzen 5 3600
- Motherboard: MSI B450 Tomahawk max
- RAM: XPG D60 16GB DDR4 3600Mhz (8×2)
- Graphics Card: Inno3D iChill RTX 2070 super x3
Output Tab
- Output mode: Advanced
Streaming
- Audio Track: 1
- Encoder: Nvidia NVENC H.264 (new)
- Rescale output: 1920×1080
- Rate control: CBR
- Bitrate: 3500 Kbps to 5000 Kbps on Twitch; 6000 to 8000 Kbps on YouTube
- Keyframe Interval (Seconds, 0=auto): 2
- Preset: Quality
- Profile: High
- Psycho Visual Tuning: Checked
- GPU: 0 (0 means 1 GPU, 1 means 2 GPU, and so on)
- Max B-Frames: 2
Video Tab
- Base (Canvas) Resolution: 1920 x 1080 [This is your base monitor resolution]
- Output (Scaled) Resolution: 1280 x 1080 [Stream output resolution]
- Downscale Filter: Lanczos (Sharpened scaling, 36 samples)
- Common FPS values: 60 [Stream output FPS; Higher the FPS, higher the CPU usage]
The above specs would give you an idea of how to get started to stream. The old PC is running with specs that are almost 5 years old. Running intensive games and streaming would be hard. But playing casual games and trying to stream any PC would work over i5 4440.
The second PC is a latest-generation PC that can run any kind of games and stream too. This won’t have any effect on gaming or the FPS while streaming due to the RTX technology and the high core count in the processor.
Bonus Tip
If you want to stream to all the platforms at the same time, you can use the platform called restream.io and connect the respective accounts to stream. This will give you the advantage of getting more audience on different platforms. But once you start growing in a single platform, focusing on that platform solely would help you get better results & organic growth.